“Stairapalooza” might not be the best word for it but guardrailapalooza definitely isn’t any better … Handrailapalooza? Nope, that’s not it either, but that’s really what today’s post is all about … the steel guardrails and wood handrails at the monumental stair at my Oak Grove project (which we are now referring to by its actual business name “Work214“).
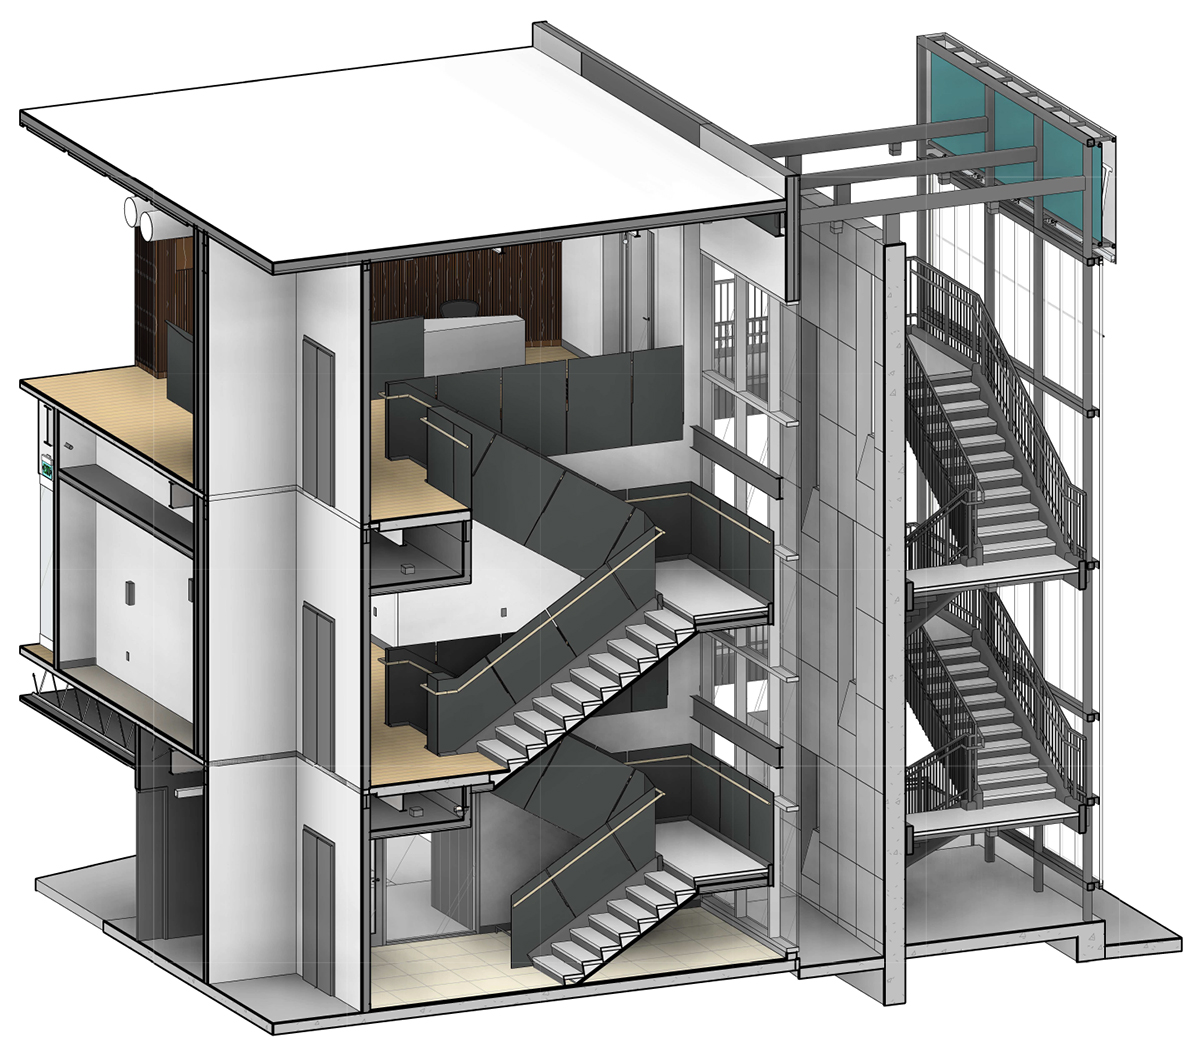
This isn’t the first time I’ve talked about this particular stair – the first time was about 6 months ago just after construction had started, in a post titled “Interior Stairwell Design and Graphics” … which is far more riveting and explosive than the title might suggest. It was in that post where I started to show the initial design drawings for this stair (which appear to be ridiculously complicated – making anything look easy is almost always harder than it would appear) and the first few pieces started to show up on site. I introduced this monumental stair to the world by showing the above section taken straight out of Revit – at the time it was to contrast the sculptural interior stairs with the exterior and highly articulated stairs. The stair I am following up on in the darker “stair” seen to the left.
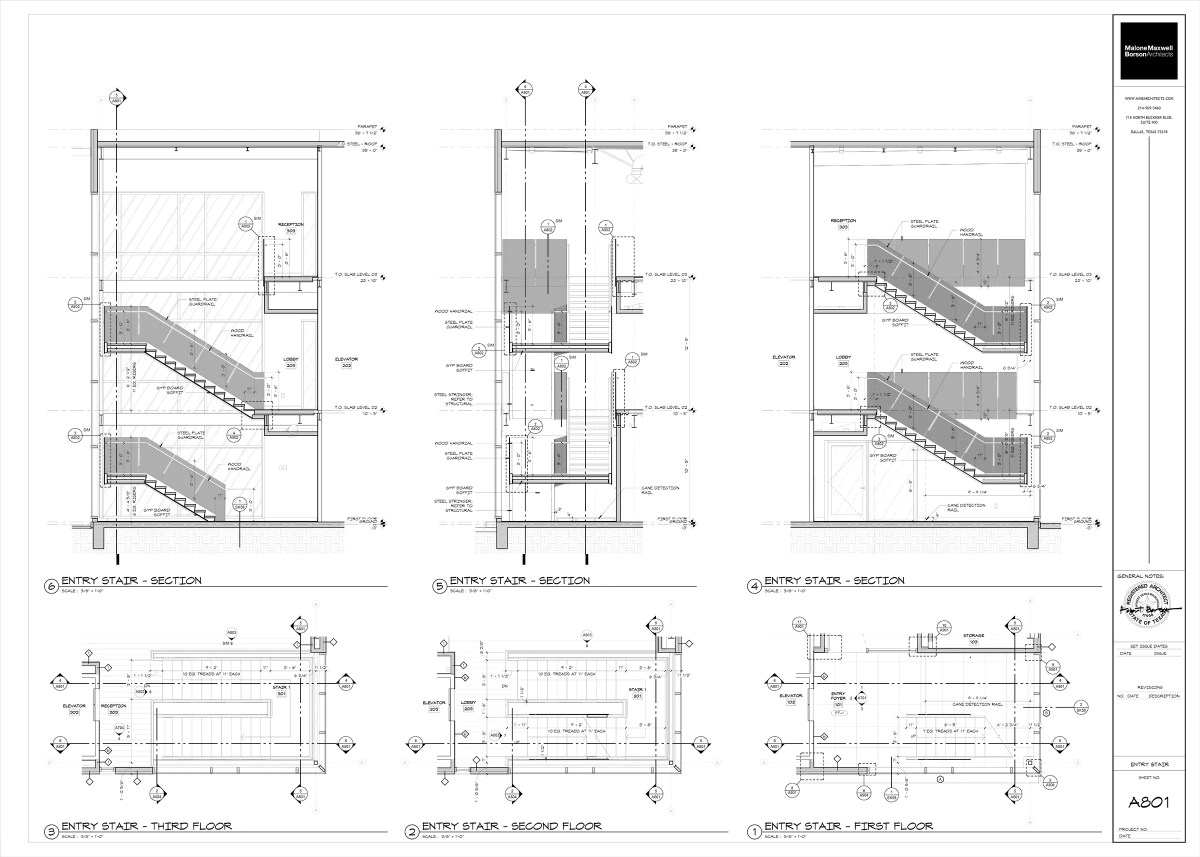
In the original stair graphics post, I included a sheet from our construction drawings set, which I took into Photoshop and added the gray shading to highlight the steel panels to help articulate the things I wanted you to focus upon. Before we jump into the construction progress photos, I would just like to add the final version of this stair turned out exactly the same as the imagined version … I always love when that happens.
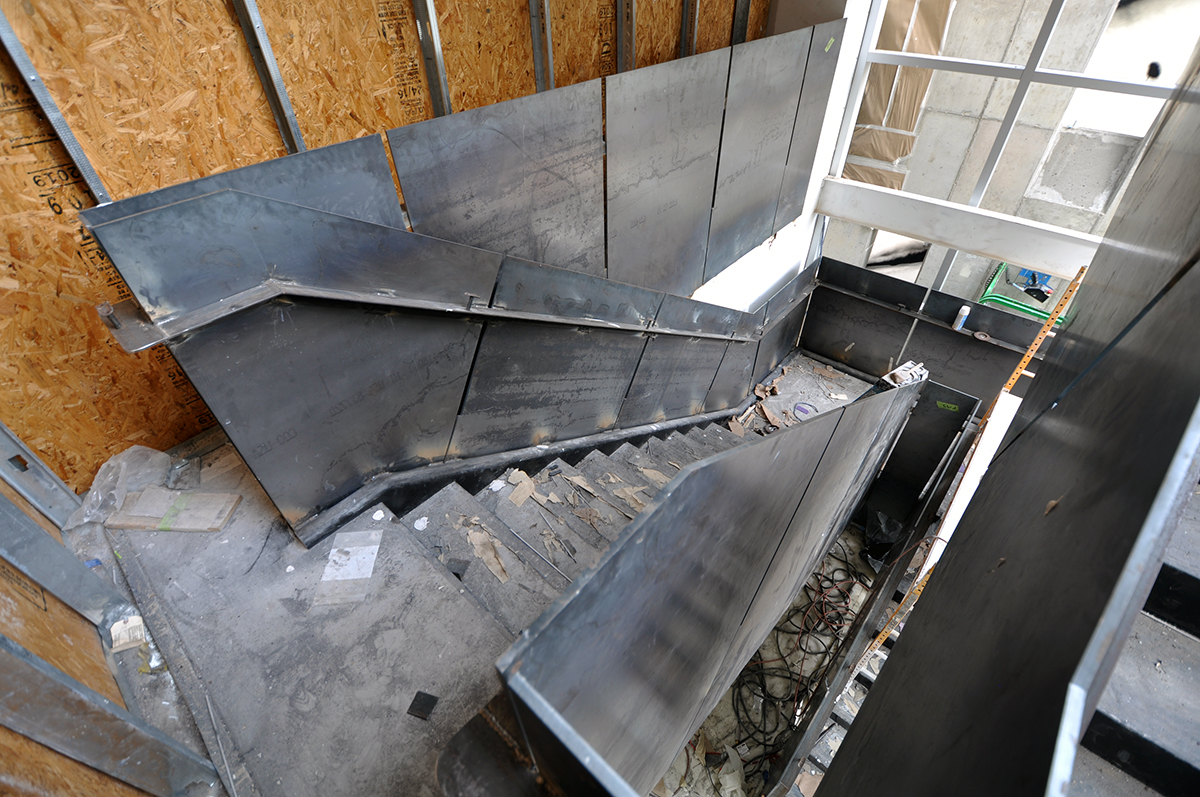
I thought I would include a few process installation photos for this stair just to highlight how far the finished product comes. Would you be surprised to earn that the client was really, really concerned about how these steel panels looked at this point? We had a few conversations about the water and machining marks that were readily visible on these panels and luckily for me, he was barely willing to give me the benefit of the doubt when I kept trying to reassure him that they would look great and that this particular stair, complete with this steel guardrail, would become every person’s most favorite thing about the project.
Which it has.
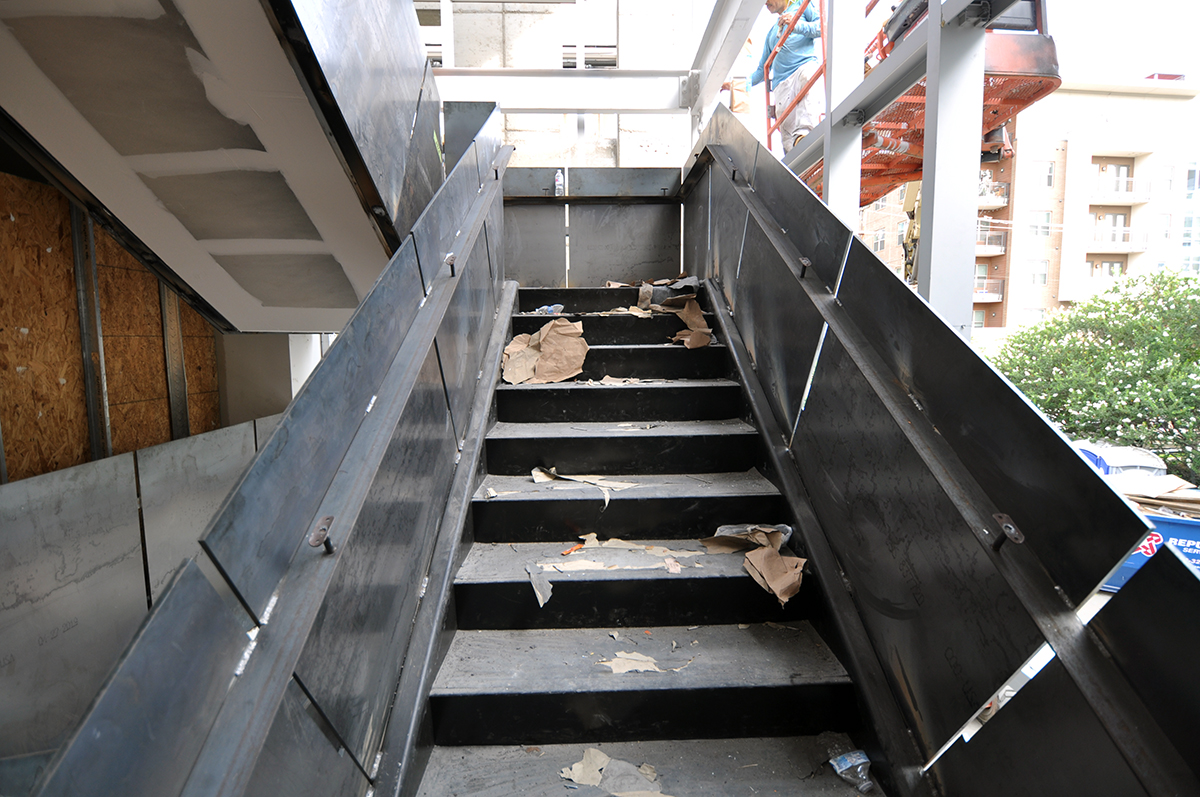
These panels looked pretty rough during this period … they were dirty, a little rusty, full of all sorts of icky things that didn’t completely hint at the final product.
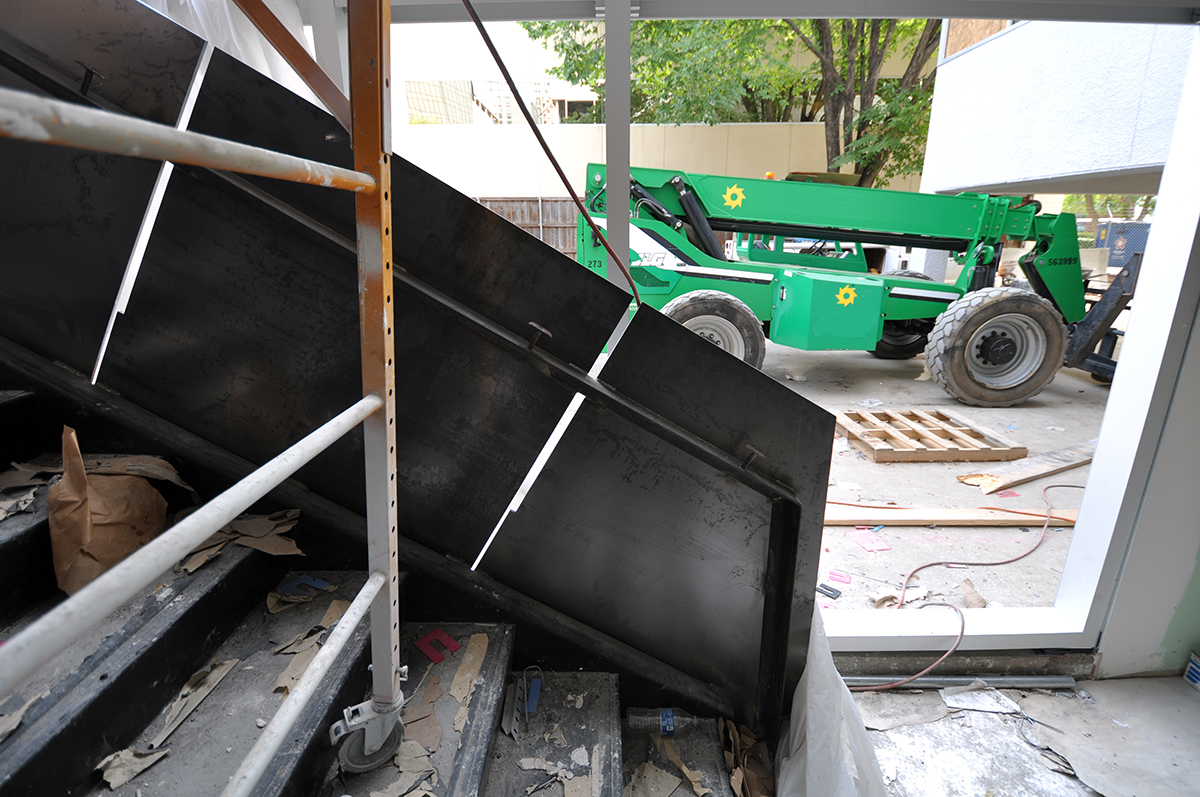
There is a lot going on with these panels – between the reveal details, the angle that is welded just below the top (to help hold all the steel plates in alignment with one another), the metal stan-offs that would eventually hold the oak handrail – and when the area is resplendent with trash, it’s hard to imagine the final product …
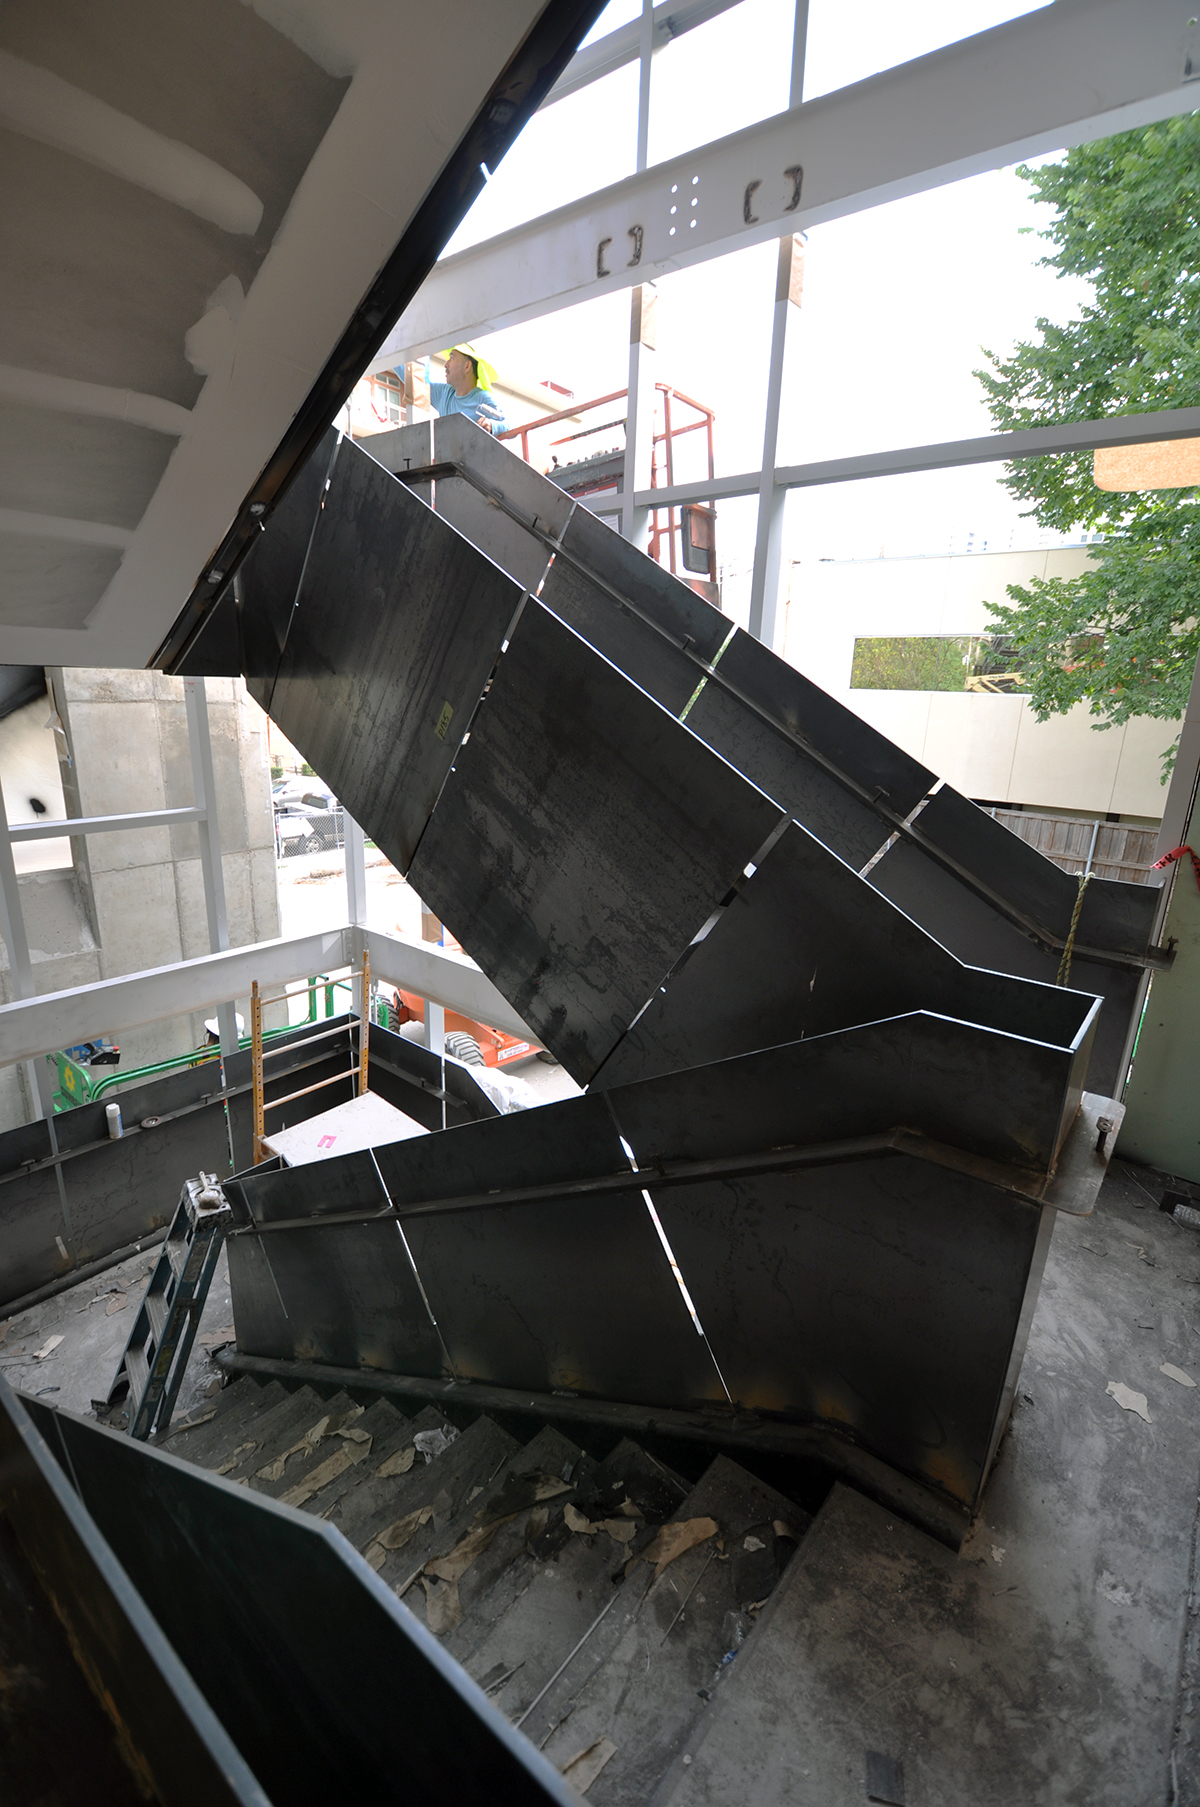
… but you can definitely get a hint at what’s to come. The shape of this stair is really basic … but I didn’t really want it to read as a stair, which is why I clad the entire thing is steel – I was trying to hide the more practical nature of the stair and make it more sculptural.
but for months, while missing the wooden handrail, final lighting, as well as the wood floor finish, it felt a little cold and clinical.
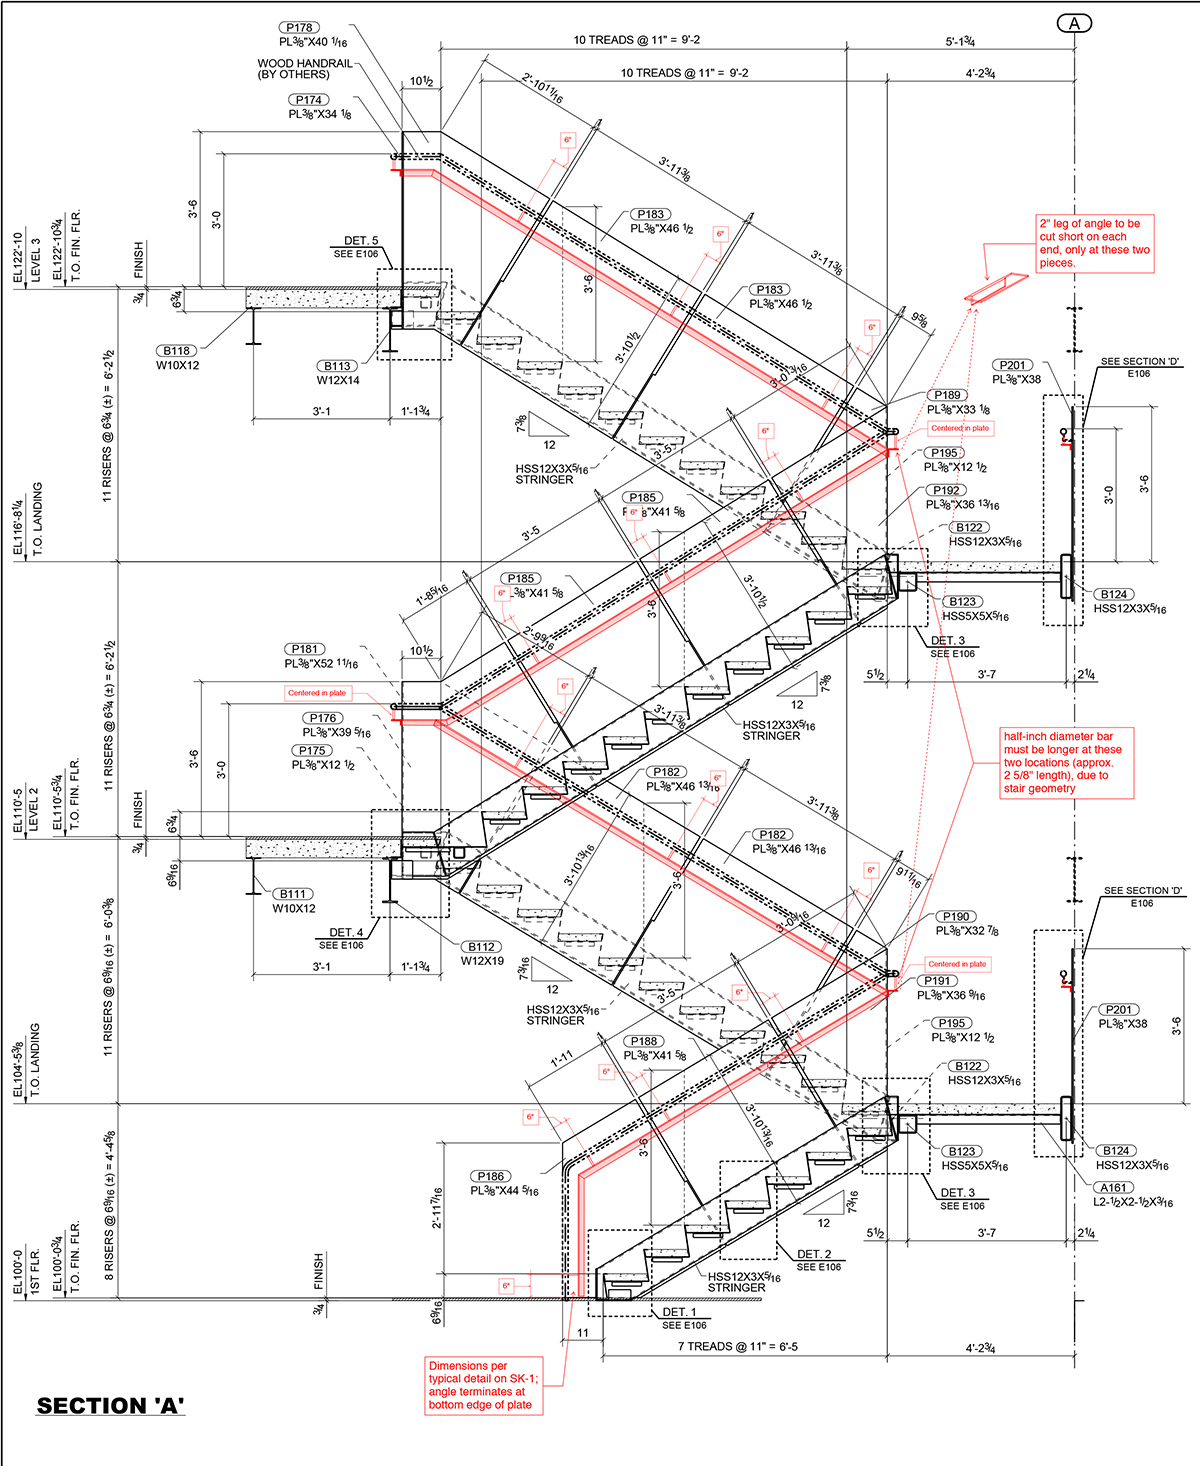
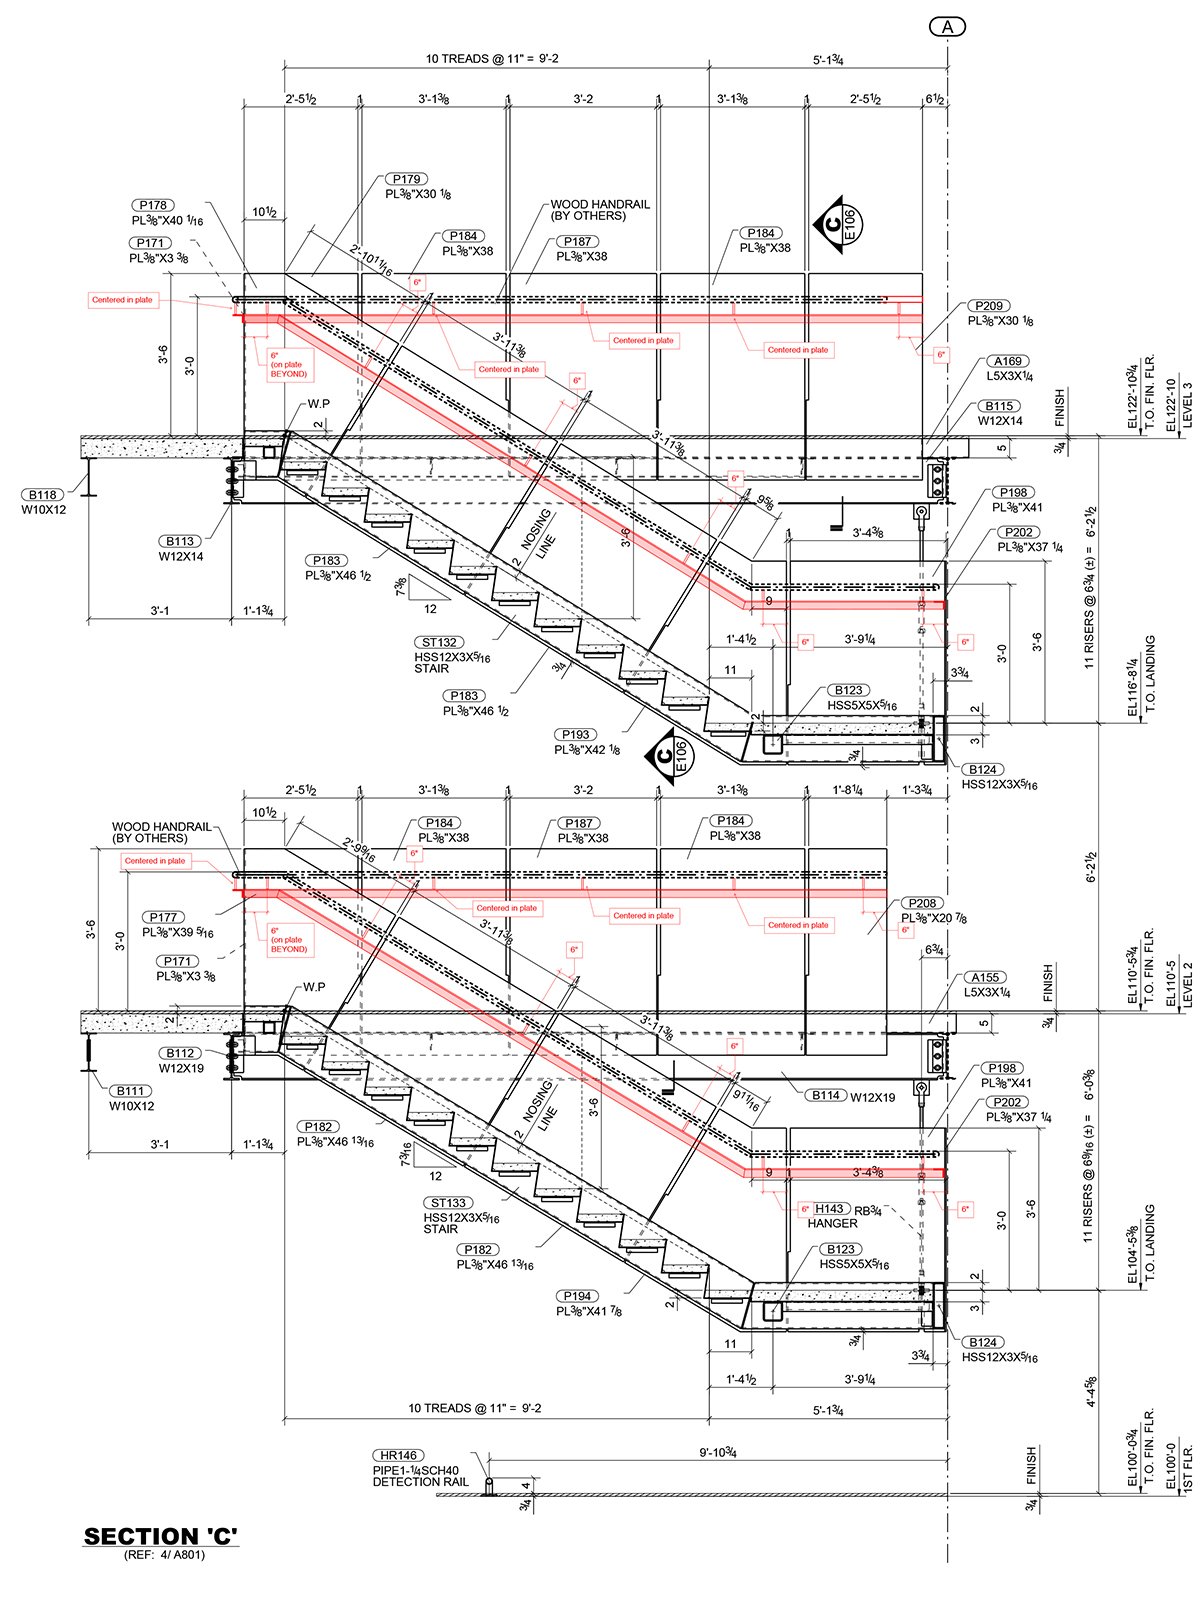
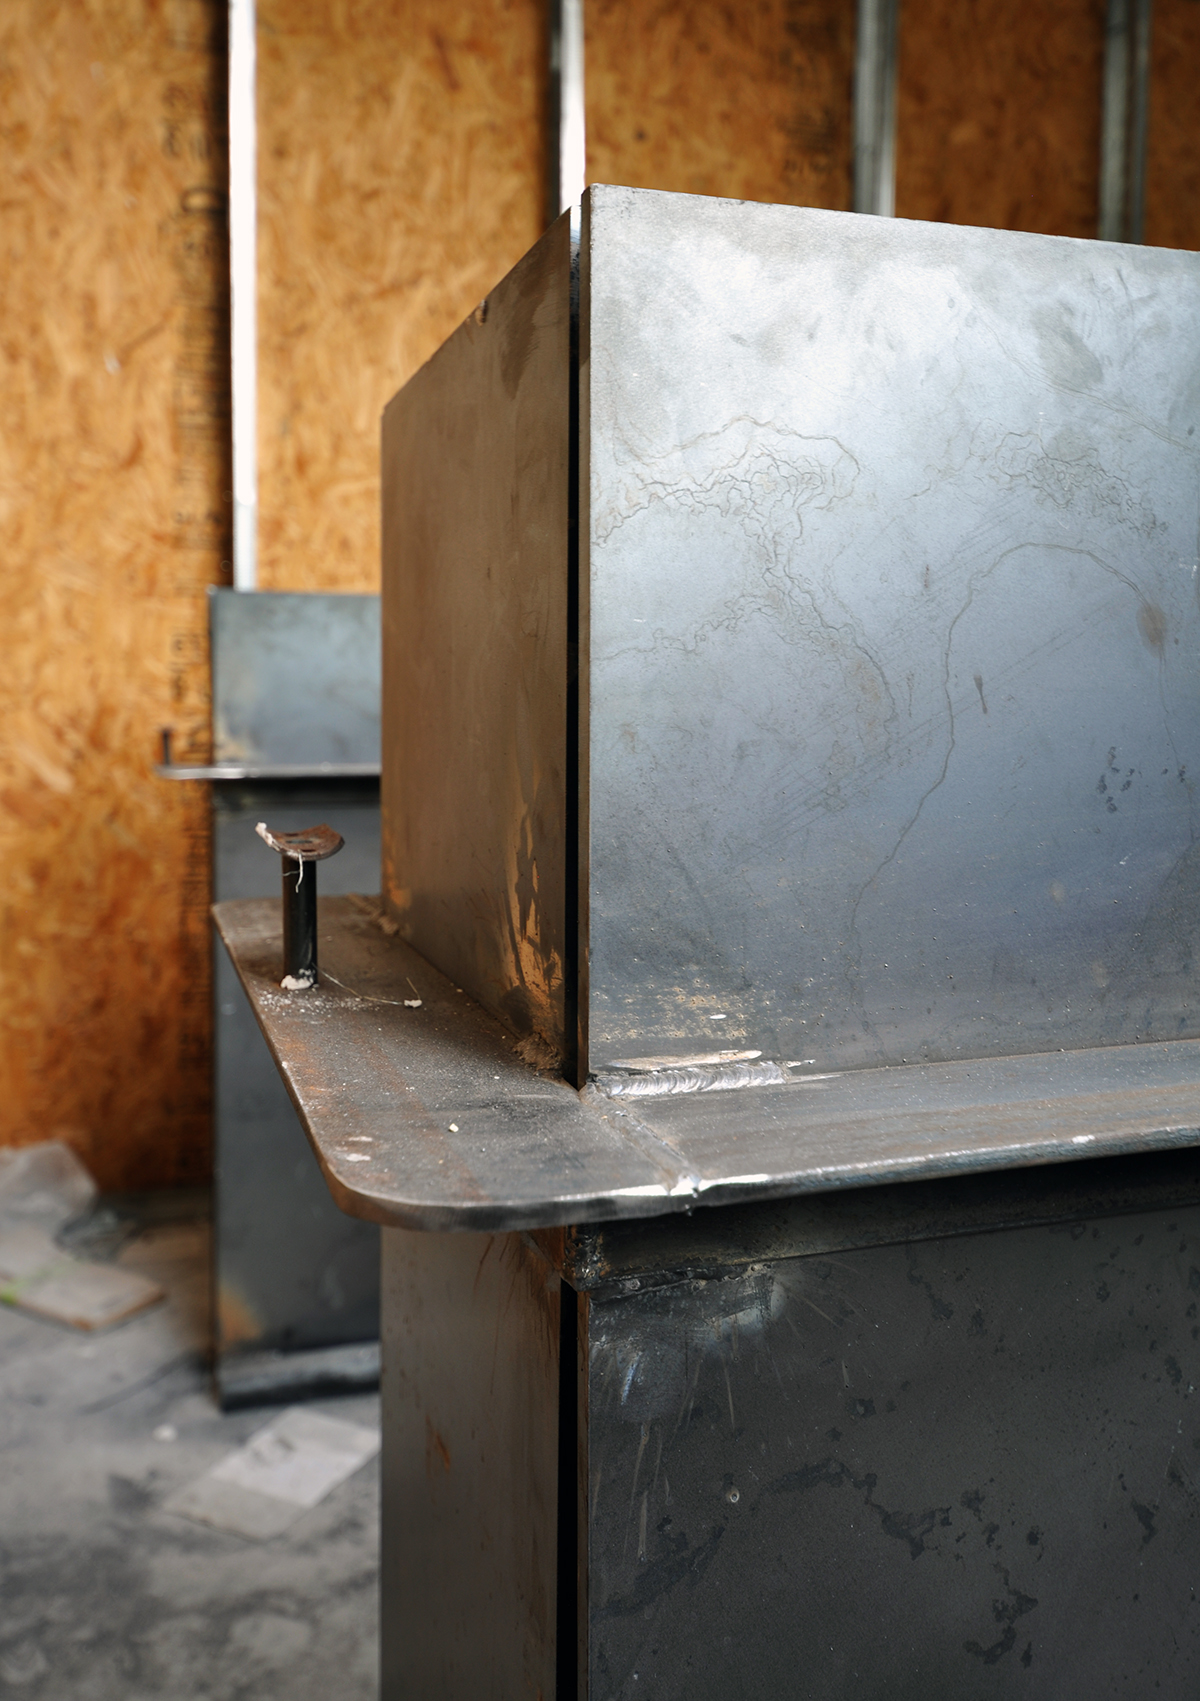
Here’s a close-up look at the angle and handrail stand-off that I keep talking about.
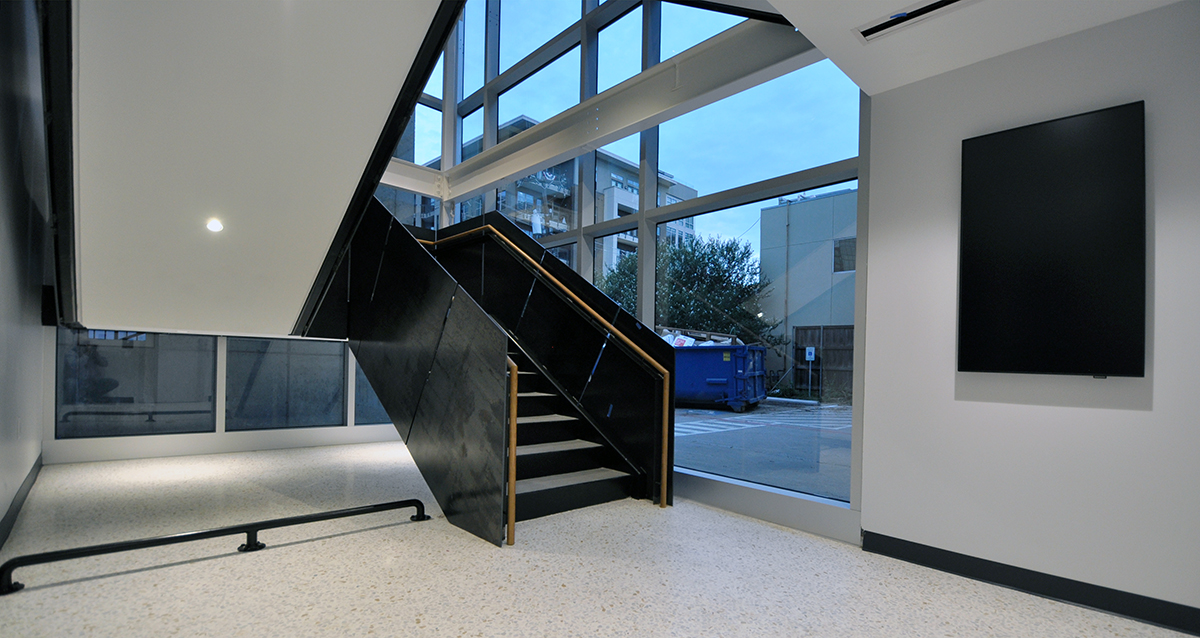
And here are some completed images that I took while we were doing the punch list (just look for the blue painter’s tape in these shots, you’ll undoubtedly be able to spot some.) The image above is the entry lobby and the beginning of your journey up.
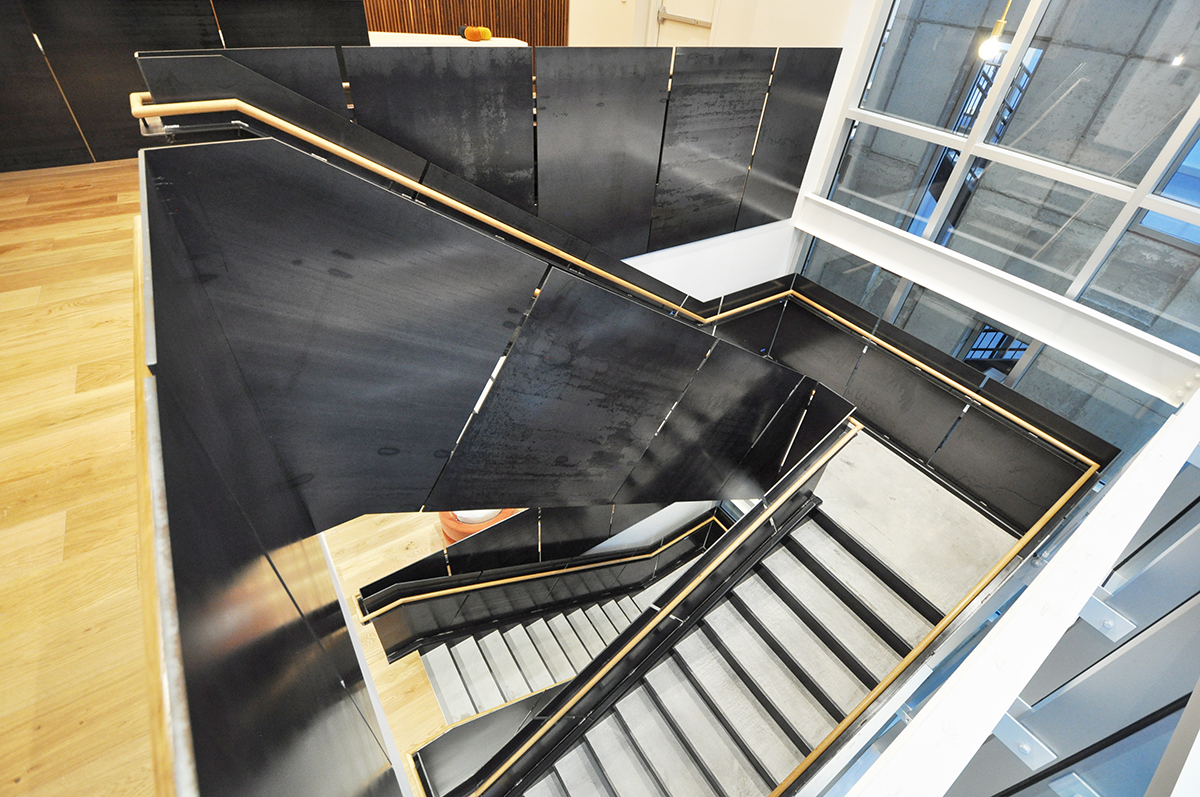
Third level looking down …
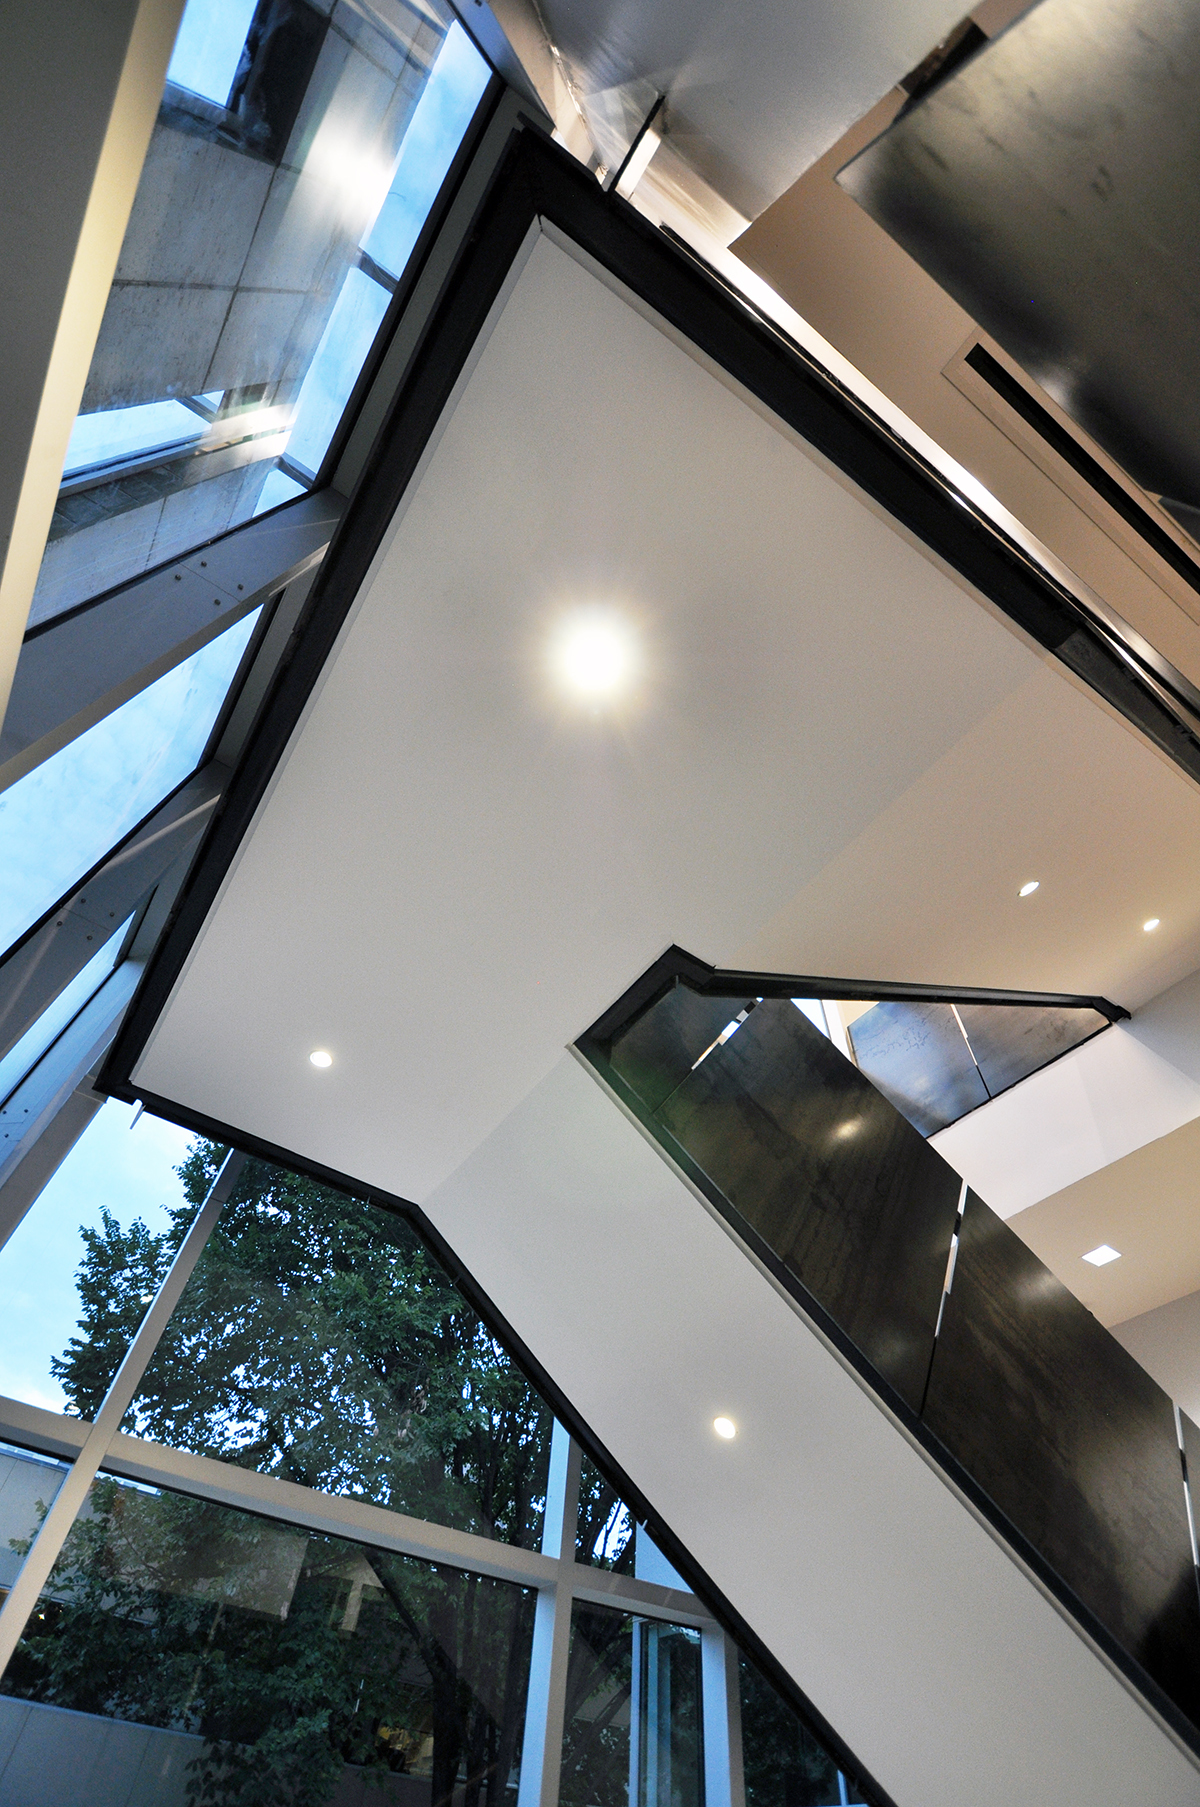
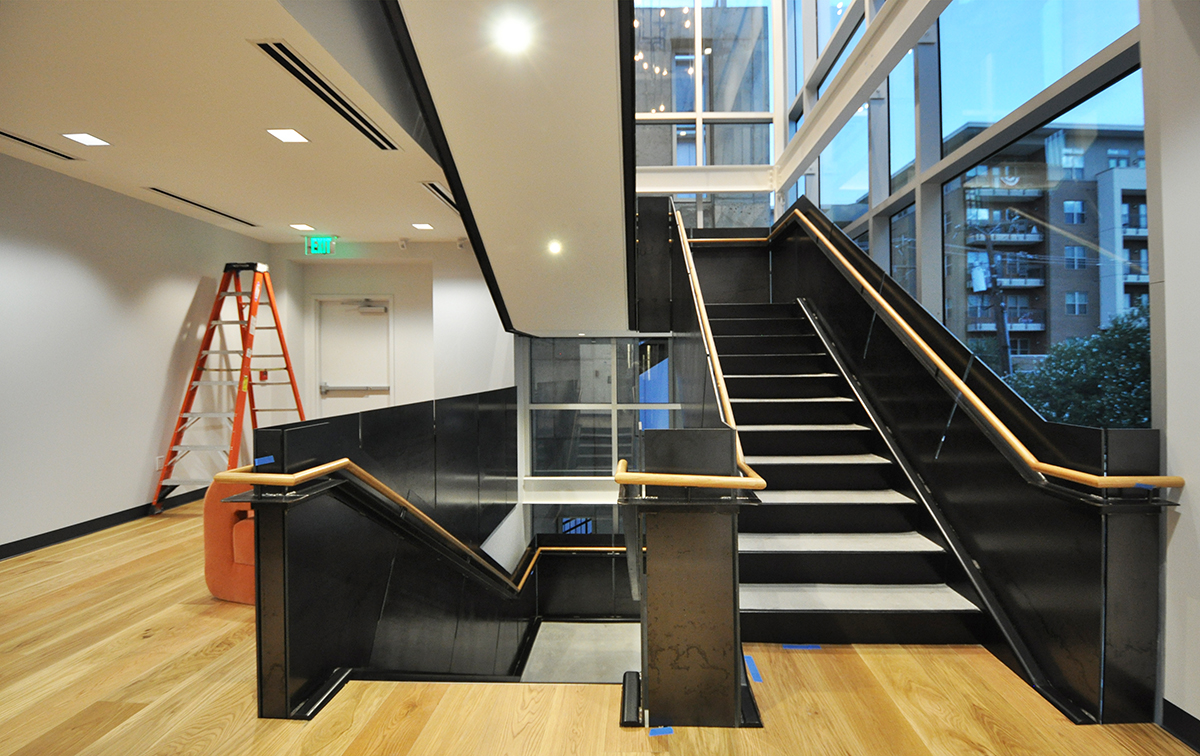
We still need to have the recessed lights that are placed under the stairs adjusted … not to mention that center section of the handrail which is a little lopsided at the moment this picture was taken.
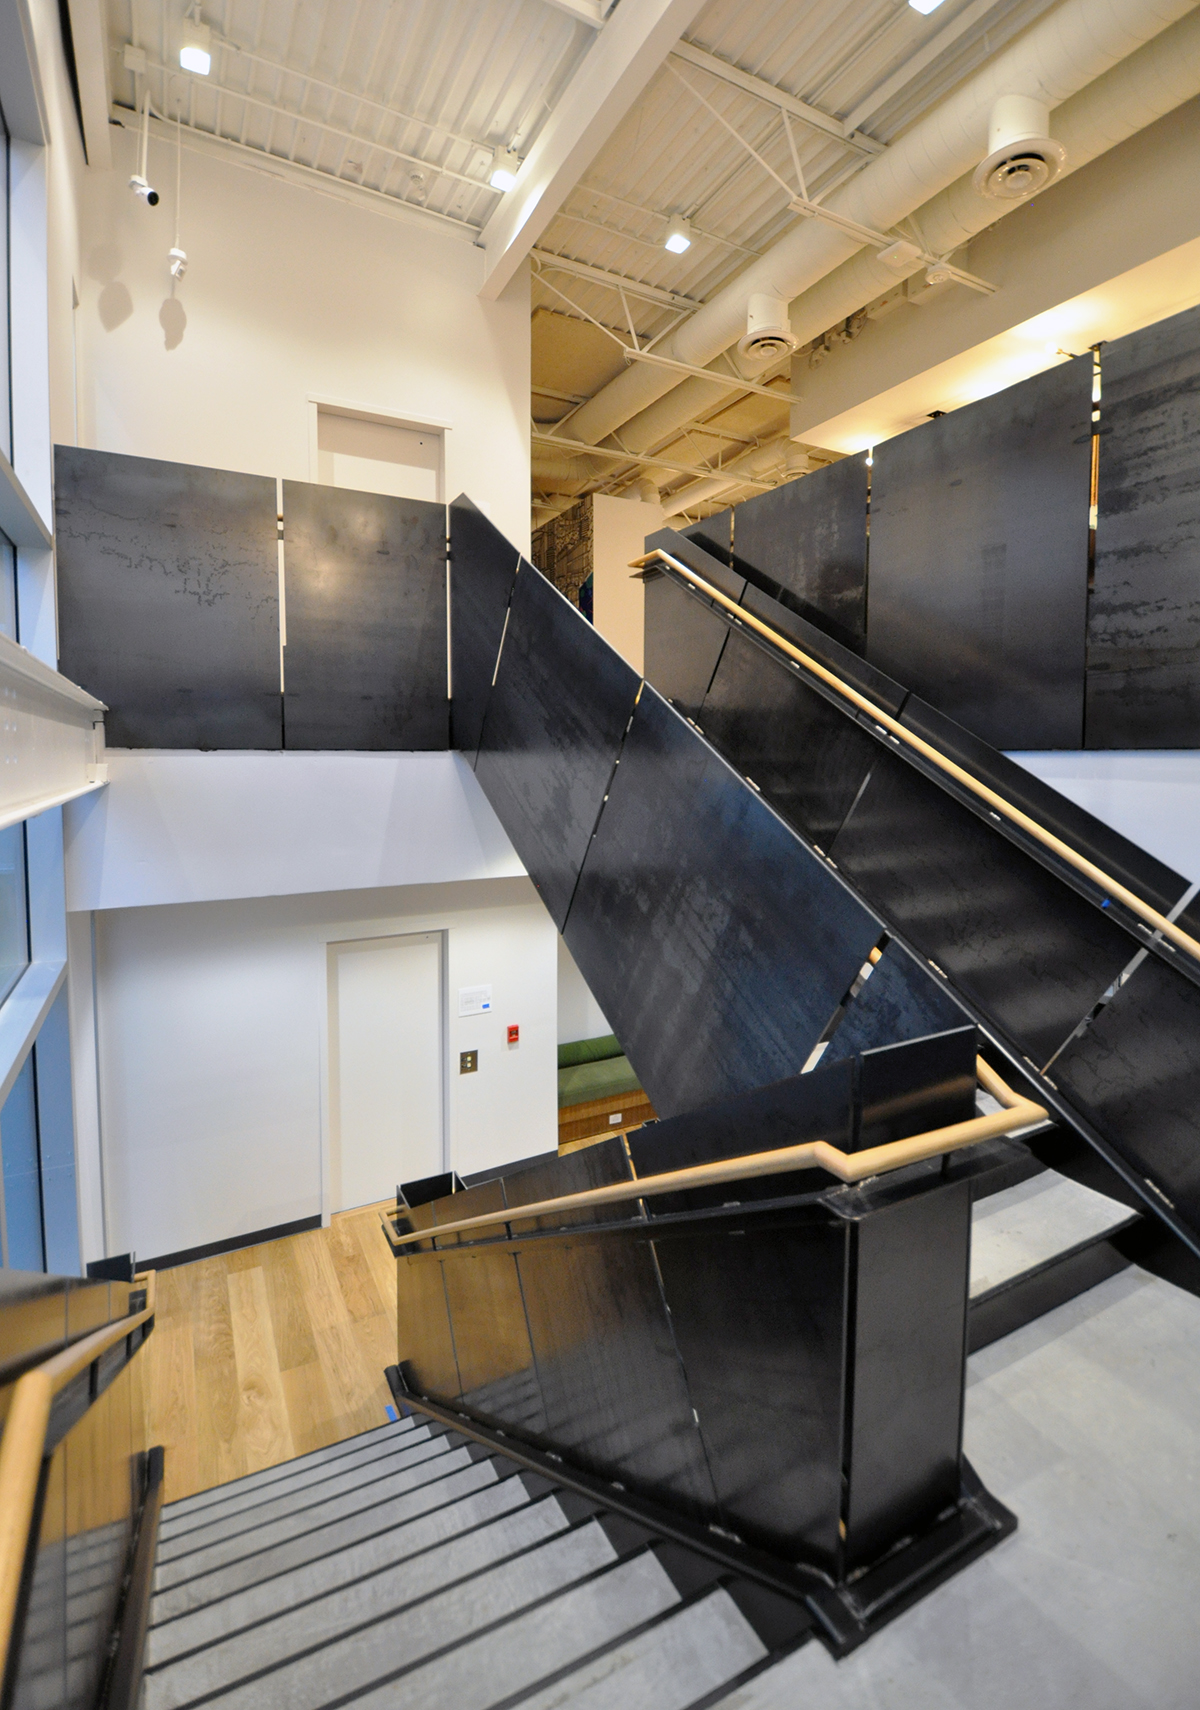
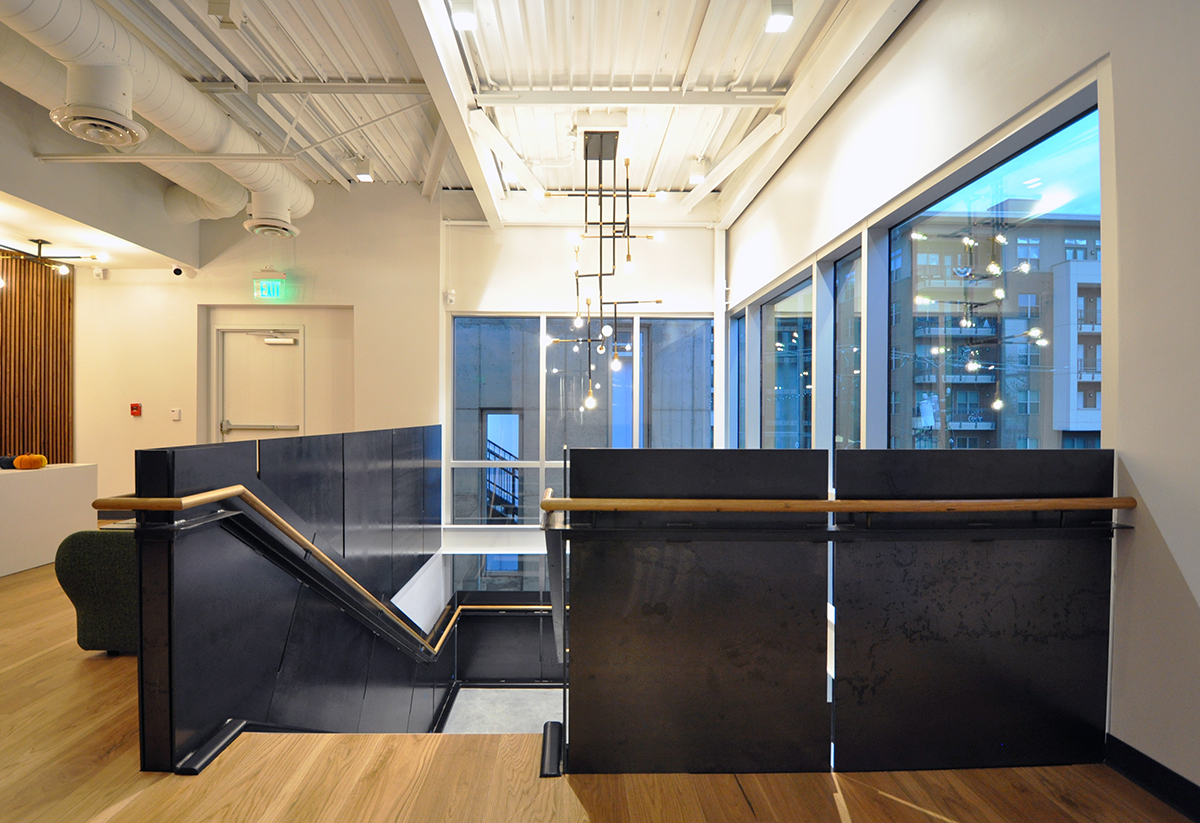
And finally, we end up on the top floor and you can see how both the handrail and the guardrail are terminated.
One question that I have received many, many times is how these steel panels were finished and the process is pretty minimal. The panels are cleaned with acetone and then coated with Permalac original DTS (which is a fast-drying lacquer) after they’ve been put in place.
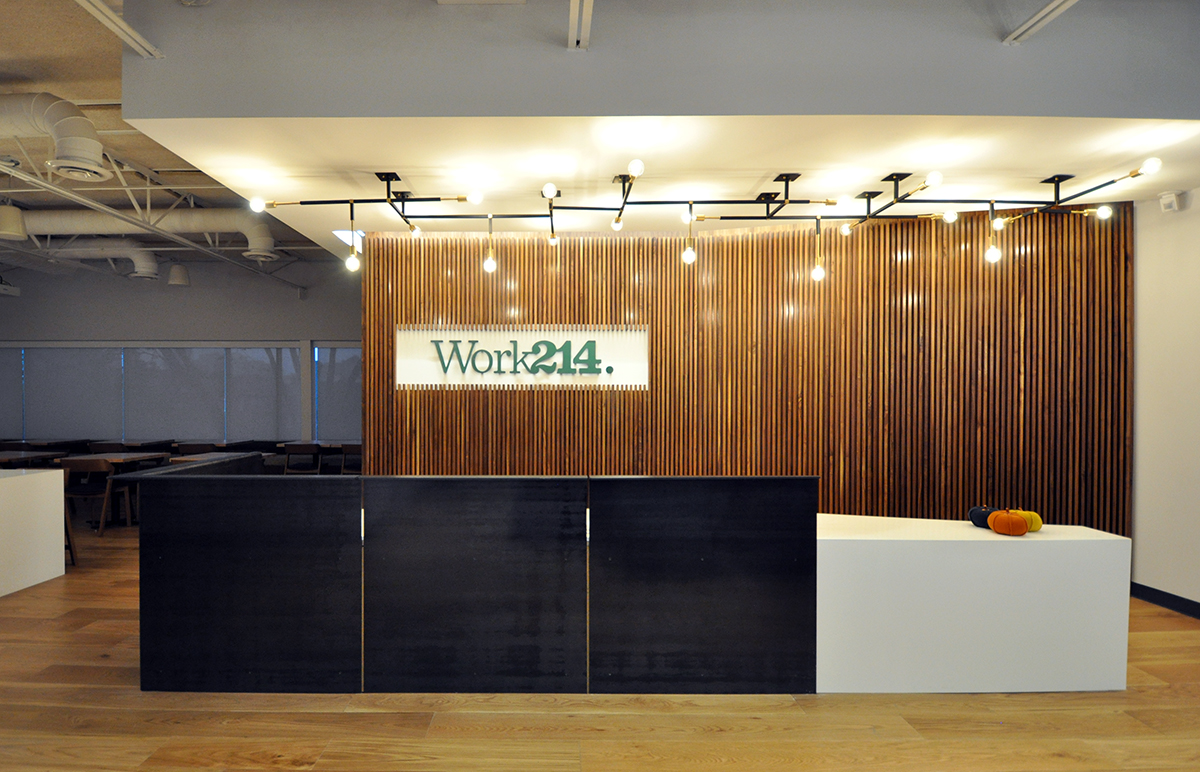
Finally, the last shot I will leave you with is simply the reception desk – the item which greets you at the top of your journey. I felt that it would be important to incorporate the steel panels into the reception desk for material continuity.
I am happy to say that the owner has come around on the use of these steel panels and while I’m not entirely convinced that he loves them, he has conceded that everyone else does.
If you have any questions just let me know and I will do my best to answer them for you. The use of steel as an interior finish material is one of my favorites gestures, despite only having done it twice in a career that currently spans 27 years.
Cheers,

