Yes – job sites are dirty, although maybe I should have said job sites are ‘messy’ so that I could limit the number of visits I get from people looking for “dirty sites”. Trying to manipulate the internet is tricky business and best left up to professionals – which I am decidedly not. Well, I am a professional, just not on the subject of dirty websites (dang it, I just did it again!!).
It has been a long time since I gave a proper progress update on our modern infill project … so I am going to give you an update while explaining why there haven’t been any updates. (Yes, this post will be as tricky as that last sentence implies). The short version is that while a lot of work has been getting done, I don’t have a lot to show for it. Everyone who is in the business knows what I mean but for those of you who don’t, this post is for you.
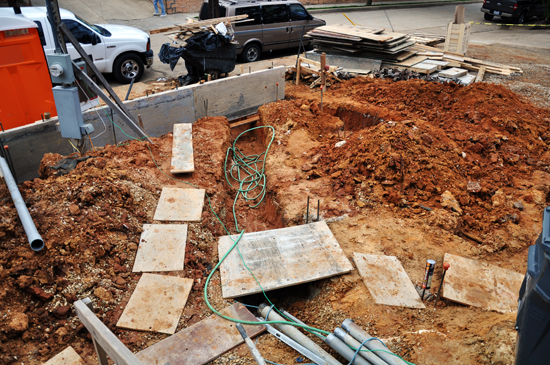
The front yard is completely torn up as the concrete form work is set into place for the landscape retaining walls, the garage ramp, and the entry stairs. The picture above is a small portion of the front yard … see all those boards laid upon the ground? That’s so that you can walk (generally) from the street to the entryway of the house without having to navigate a lot of messy, dangerous crap. It doesn’t make for a pretty picture – let’s just say that I keep another pair of shoes in my car so that the bottom half of my leather shoes aren’t encapsulated in orange mud.
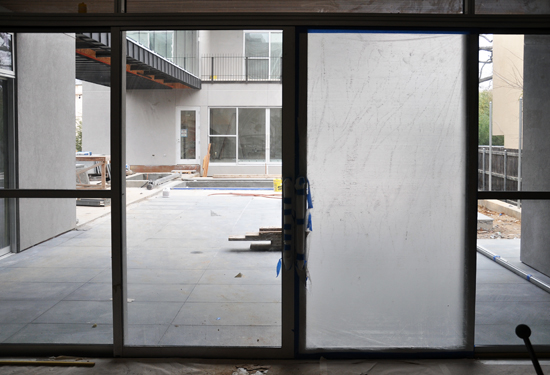
The walls have been the focus of most of the interior work. Lots of tape, bed and floating – followed by painting (3 coats at least). All of the walls (with the exception of some utility type rooms) have a level 5 finish – which means the entire wall is covered in drywall mud and then sanded down. Since this is a large house, this process has taken months. The process creates a lot of dust so as a result, anything that has a finish other than paint, gets covered up with plastic and paper. This process is not very conducive to “interesting and informative” picture taking. In the image above, you can see that there is still a bit of protective coating on the sliding door to the right … imagine entire rooms that look like this … [shudder] it makes me think that someone who has an outstanding gambling debt would be quite nervous if asked if they want to “tour” the project site. (wink).
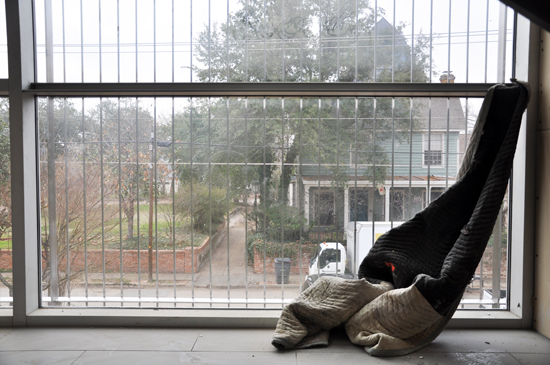
This is obviously a padded blanket – why and how it has come to rest in this peculiar position in this particular location is a bit of a mystery. My assumption is that it is used by the steel fabricator who is putting together the stainless steel and concrete staircase that I happened to be standing on when I took this photo … at least he’ll know where it is since everybody walking by the project can see it.
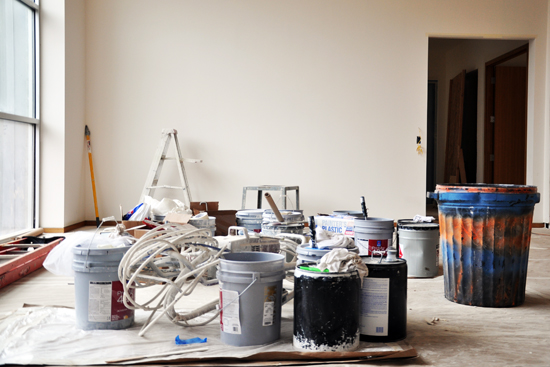
This is the main level dining room – aka “paint storage/staging area 11b“. What isn’t covered in plastic is covered in heavy-duty butcher paper (i.e. all the floors). The large format tiles have been in place for months but as soon as they are down they get covered up – that’s why there aren’t any photos of the tile floors.
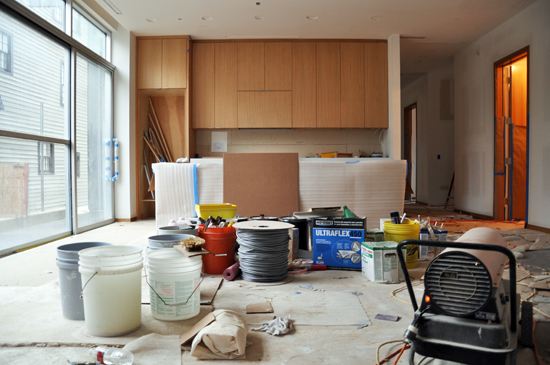
This is the ground level apartment – aka “paint storage/ staging area 23f“. Some of the finished millwork is in place and I just so happened by the job site at a time between “installation” and “protection”. All the millwork is either painted or rift cut vertical white oak. That contraption in the bottom right-hand corner is a gas burner to heat the space and speed up the drying process of all the drywall mud. Since these are the type spaces that receive a level 5 finish – and it’s the beginning of our rainy season – the walls need to dry completely before the next coat of mud goes on … and repeat this process over and over and over.
It’s a time intensive process.
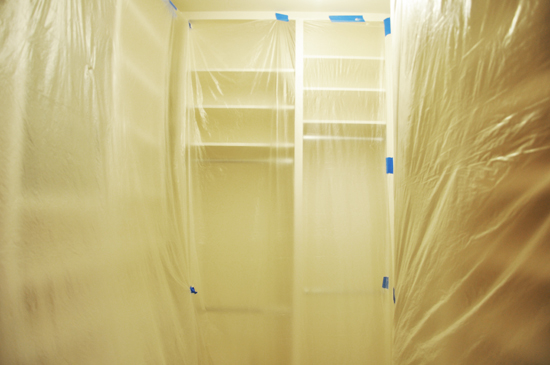
This is not the ethereal mood room or the wise guy whack space – just a look at what most rooms have looked like over the past few months.
Plastic protection is covering e v e r y t h i n g!
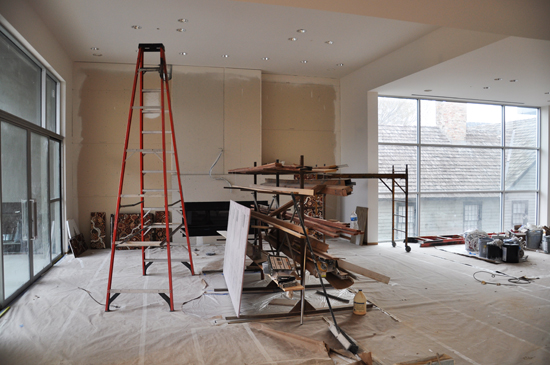
This is the main room – you can see that lighting trim rings have started to get installed into the ceiling – and to the right, you can catch a glimpse of “paint storage/staging area 11b” from the main dining room. What I didn’t notice when I took this picture last week was that the tile mosaic around the fireplace has been removed. I would imagine that is because Ann Fietta (the Italian mosaic artist) arrived in town for the next two weeks to finish the installation. The panels were previously installed just to keep them protected from job site damage, as well as keep them from walking off the job site.
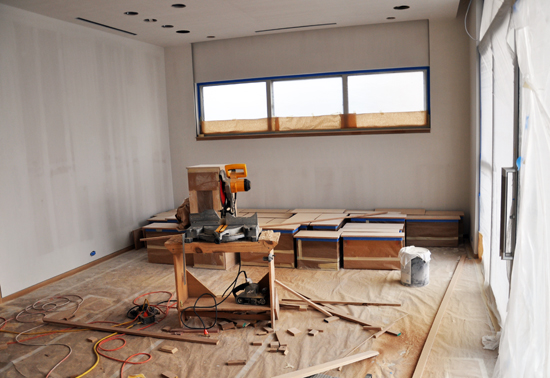
This is one of the rear bedrooms – aka “millwork staging prep/paint area 352bb“. See, not anything really interesting to look at other than the fact that everything is protected from dust and debris.
Boring.
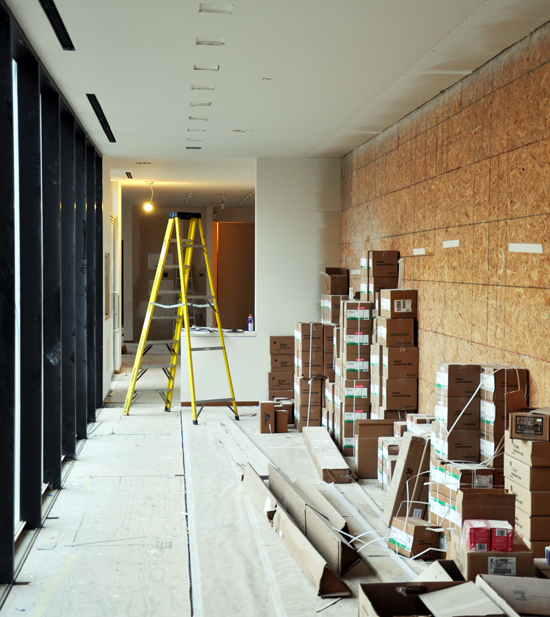
‘The Bridge” – (aka – “light fixture staging area 729fy”)
On the left-hand side will be a continuous glass floor … which is currently being covered up by plywood.
Are you feeling the pattern yet?
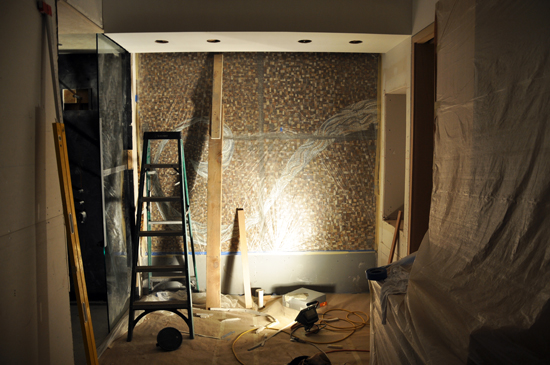
This is the Master bathroom where one of the 3 mosaics is installed. On the floor – butcher paper … on the right hand side – plastic. Yes, there is millwork and tile and counter top, sink, faucet, etc. under all that protection but I can’t take a presentable picture and I’m certainly not going to ask the contractor to pull off all this stuff so that I can take a pretty picture … I’m sure his response to such a request would find me “relocated” to the port-o-john.
So there you have it – a progress post about why there isn’t really a progress post. The project – if you can believe it, should be ready for the client to take up residency in 10 more weeks. That means that there will be a lot of things I can focus in on and feature here on the site which is good for me and hopefully for you as well.
One other item that helped motivate me into preparing this particularly uninteresting post is to show that all residential projects get to a point where despite the fact that there is a lot of work happening, it simply doesn’t look that way. This condition always happens once in the beginning when site work and foundations are being worked on, once in the middle when electrical and plumbing rough-ins are happening, and finally towards the end when walls are getting prepped and painted. These periods seem to go on forever and I can almost always count on a phone call from the client asking me “why is this part taking so long?”. I could say “it just does” (because it’s true) but the main reason is that these are the phases that will have the most impact on subsequent phases – meaning, if you don’t get this part right, there is hell to pay down the road.
Take your time, don’t rush, and do it right the first time. Fixing a misaligned wall because your foundation is off is not the sort of problem you just “fix” once the concrete gets poured. Getting the wall smooth and level is considerably harder when there is furniture and paintings in the way. Adding an electrical plug when the walls are open is as easy as saying “right there” – but once everything is closed up? Not so much.
It’s cheaper this way too.

