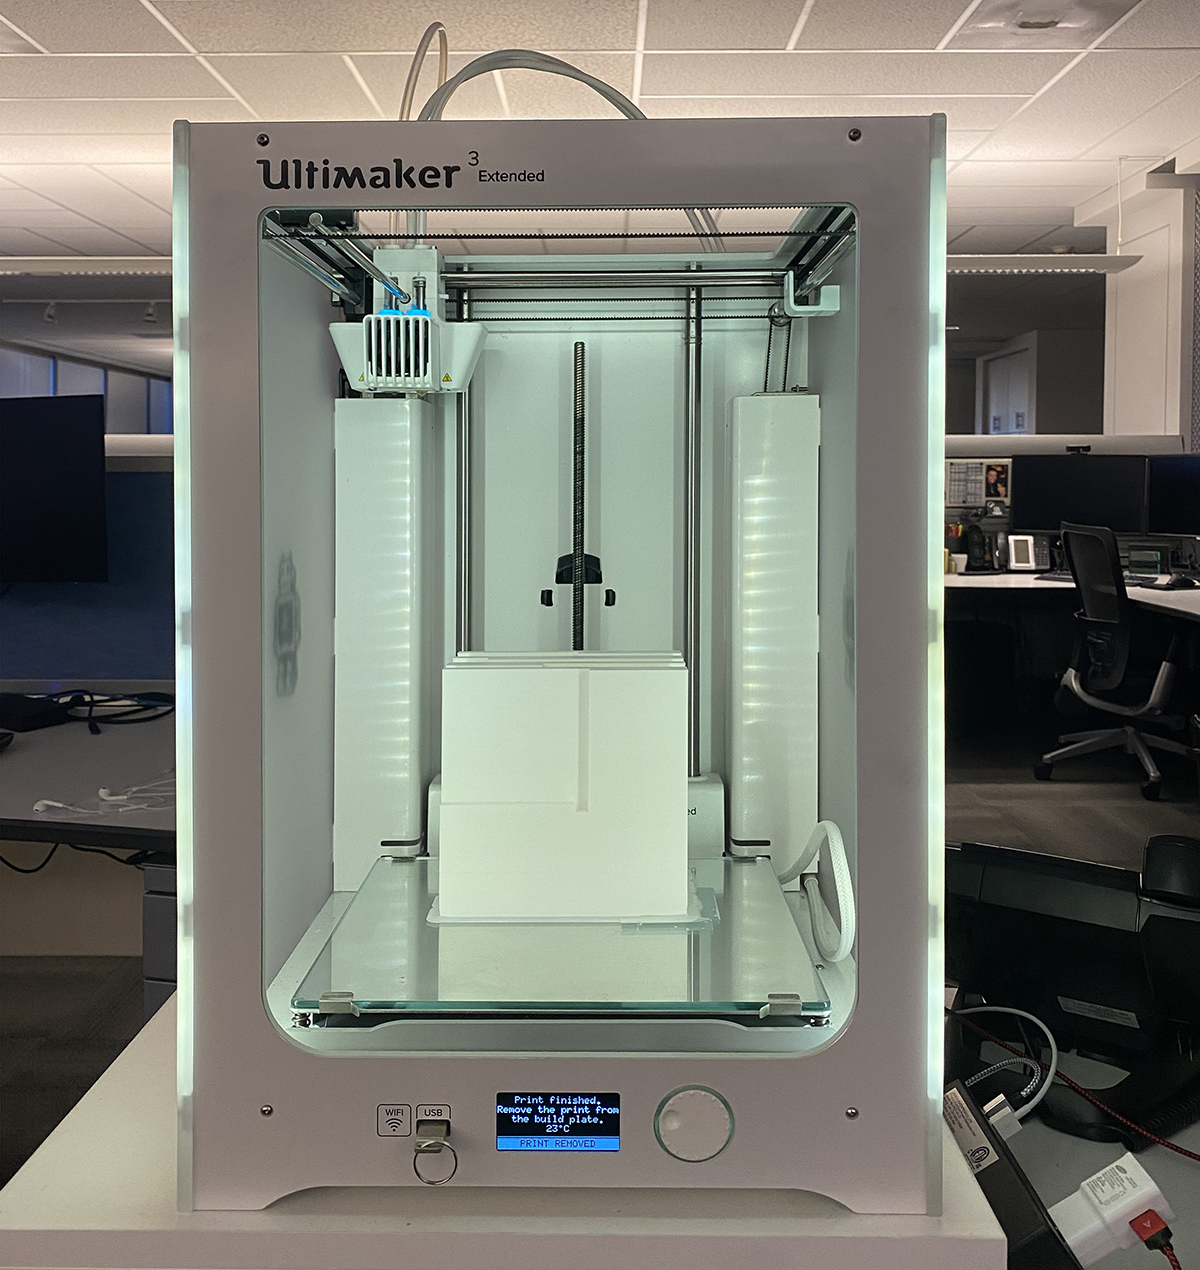
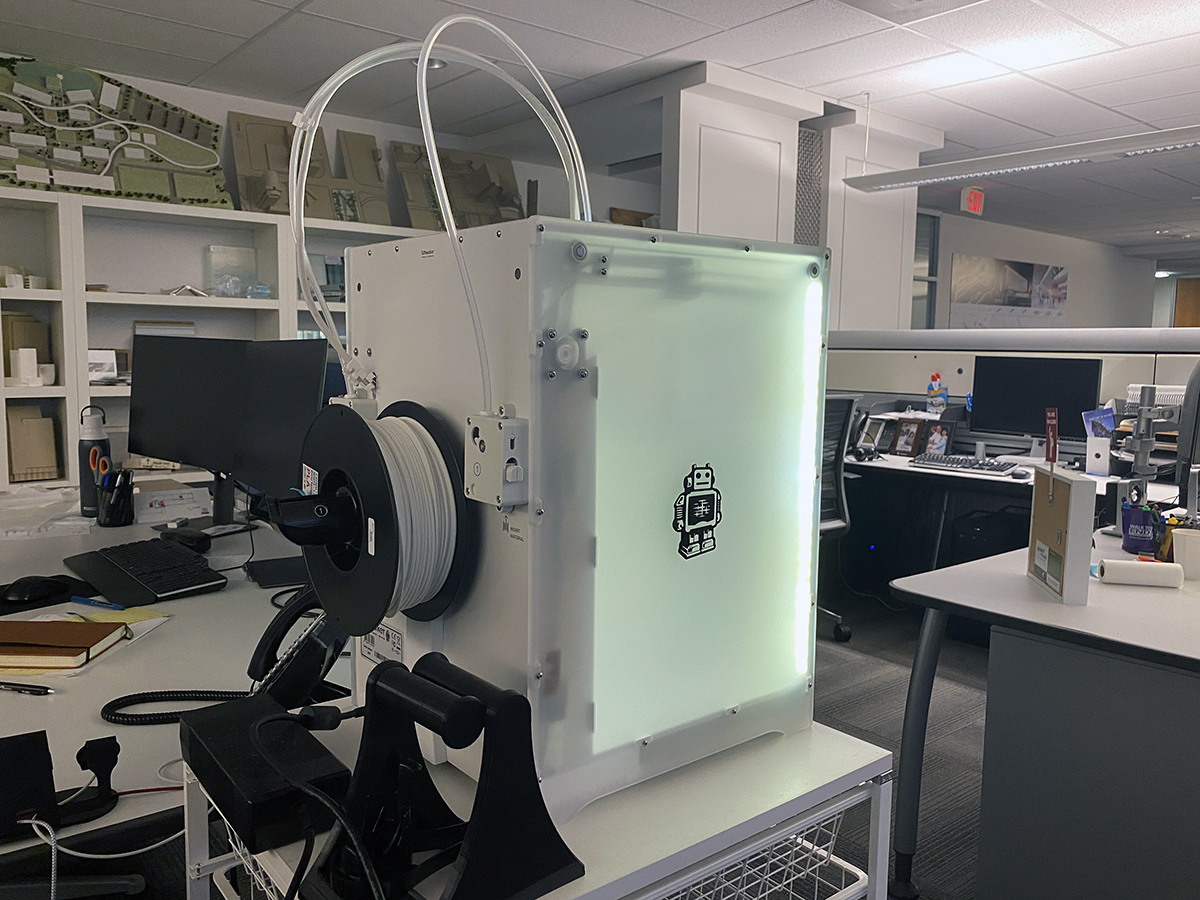
Architects have been using 3D printers for years so the process of printing architectural 3D models isn’t new, but over the last two weeks, we have been experimenting with the process of creating a model for one of our residential projects. I am definitely late to the party on this one but my last office didn’t see any value in this sort of design exercise – we built a lot of models by hand using more traditional materials. So I have been simply looking at the 3D printer that has been sitting in my office for the last two years and I finally decided to put it to work.
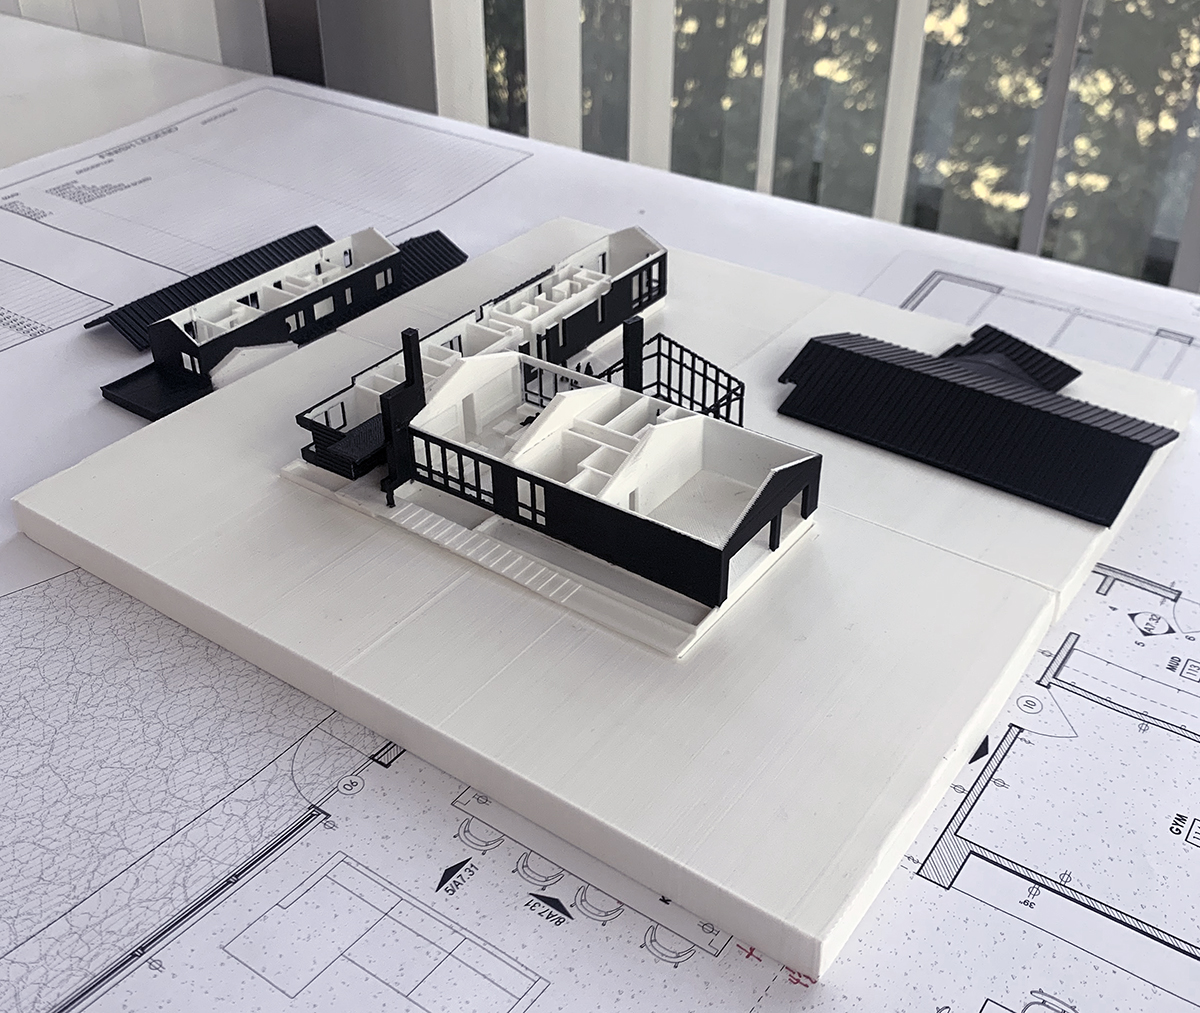
The image above represents the current fruit of our exploratory labors, and I have to say that while I’m not completely satisfied, it does look pretty good and the attention generated in the office regarding this particular project has been very interesting to watch develop.
But I’m getting in front of myself, let’s back up just a bit.
This is the 3D printer we have – a Ultimaker 3 Extended …which is no longer made and has since been replaced with the newer and improved Ultimaker S5 3D Printer but let me prepare you that these are definitely NOT cheap pieces of equipment. I don’t know how much the one we have in the office cost when it was purchased but the new ones will run you around $6,300 (ouch!). I will point out that this post is not intended to be a review of 3D printer equipment, since I am only 2 weeks into this experience I am not prepared to deep dive into the specific parameters of why one printer would be better than another with the exception to two things:
- The size of the “build area” of the printer. The one I used has a 7″ x 7″ footprint which presented challenges to how delicate everything was once we shrank the house footprint down so that it would be small enough to fit within that area
- Speed at which the printer prints. Speeds kills, and in this case, slow speed kills the quickest.
This piece of equipment is not very large relatively speaking and while it does make some noise and put out some heat, the people who sit immediately adjacent to the equipment had a pretty good attitude about it (they only “joked” that they wanted to kill me despite the fact I was printing for DAYS!!) You can see the giant roll of printing filament on the back of the enclosure. These rolls are pretty large and we were able to print continuously without worrying that we would run out mid print.
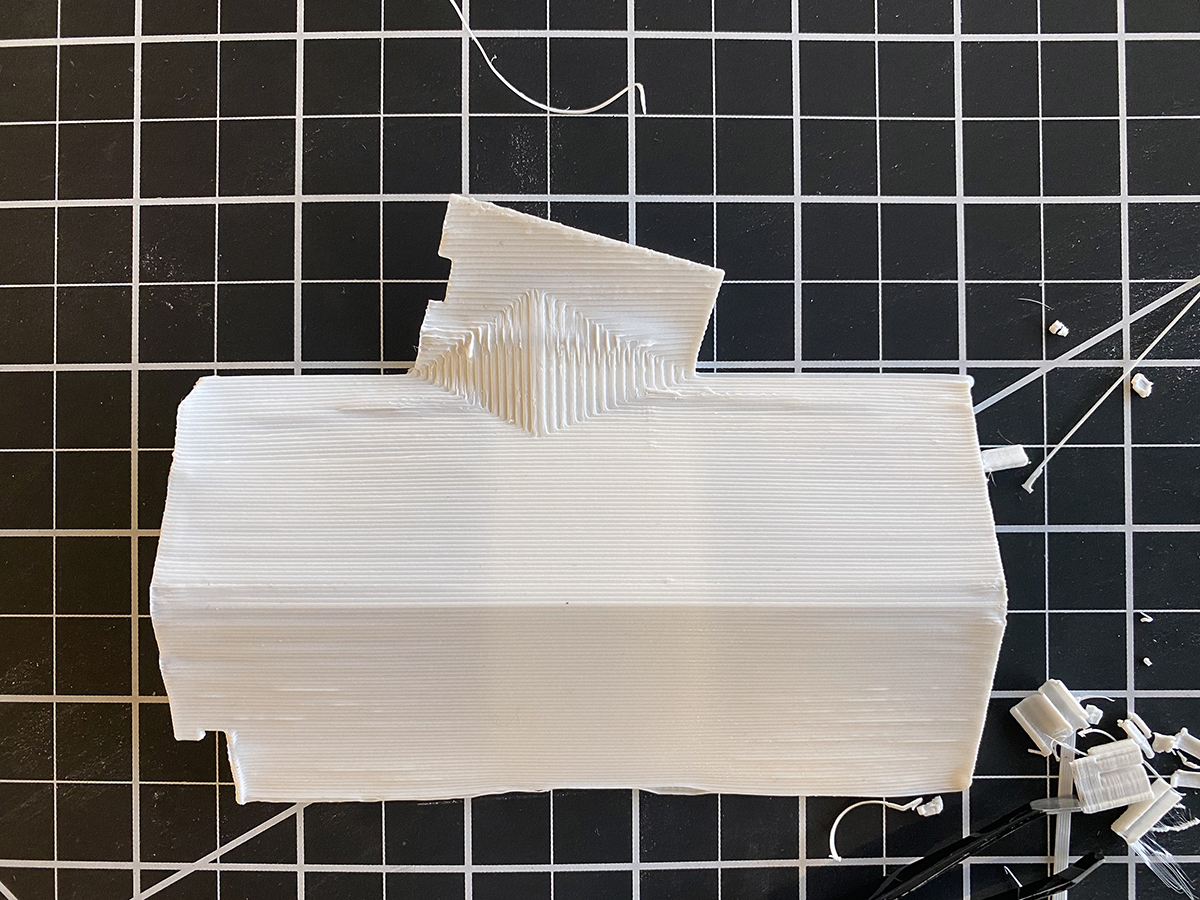
The image above was the roof from one of our initial prints … and it turned out terrible. It was printing out too thin and as a result, the heat from the printing bed, as well as from the printer head, was causing our model to deform and warp. We ended up solving this problem by slightly increasing the thickness of the planes we were printing, but we also changed the orientation of the print. Rather than printing it out horizontally – just like you see in the image – but we ended up rotating it on edge so that it printed vertically. Visually the end product looked vastly superior but the printing time changed from about 4 hours to 14 hours.
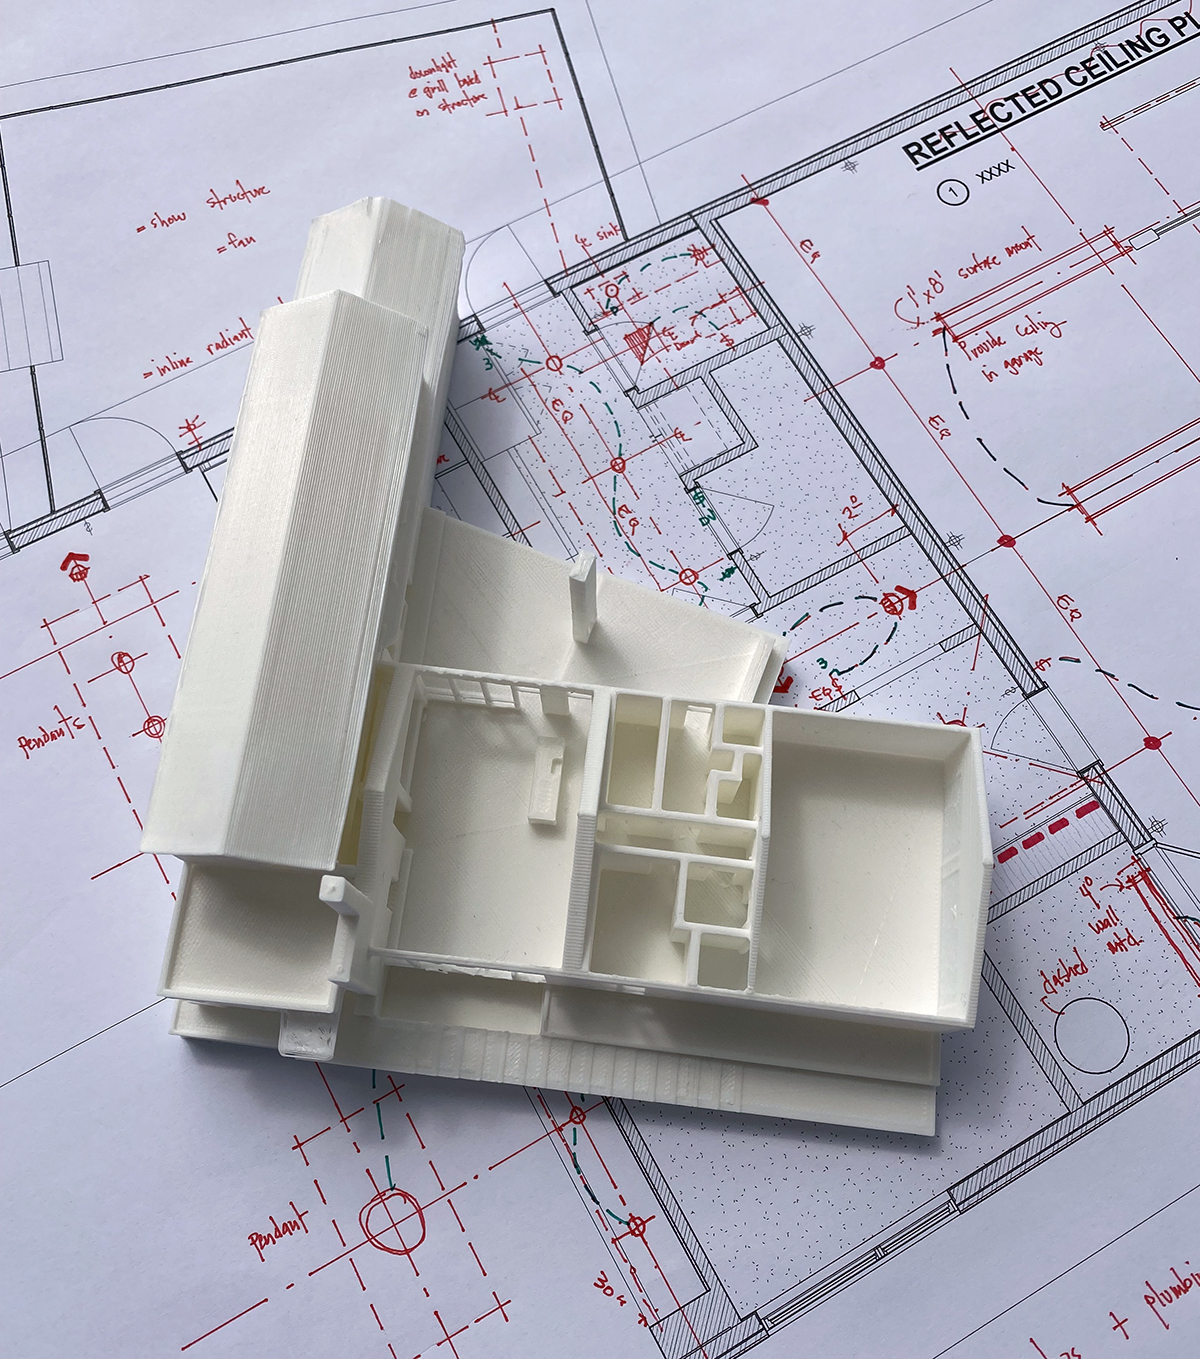
Here is what one of the first test prints looked like – looked okay but we had problems again with the thickness of our walls and our window frames. You can even see on the bottom left where we printed out the entry overhang and you can actually see through it! (You can click here “The Front Door Experience” to see what that overhang was supposed to look like). We also had issues with the window frames breaking when we broke away the temporary construction material the printing process creates when forming the model.
In general, this model was not very good, but we could easily see what we needed to fix and the next model would be a lot better.
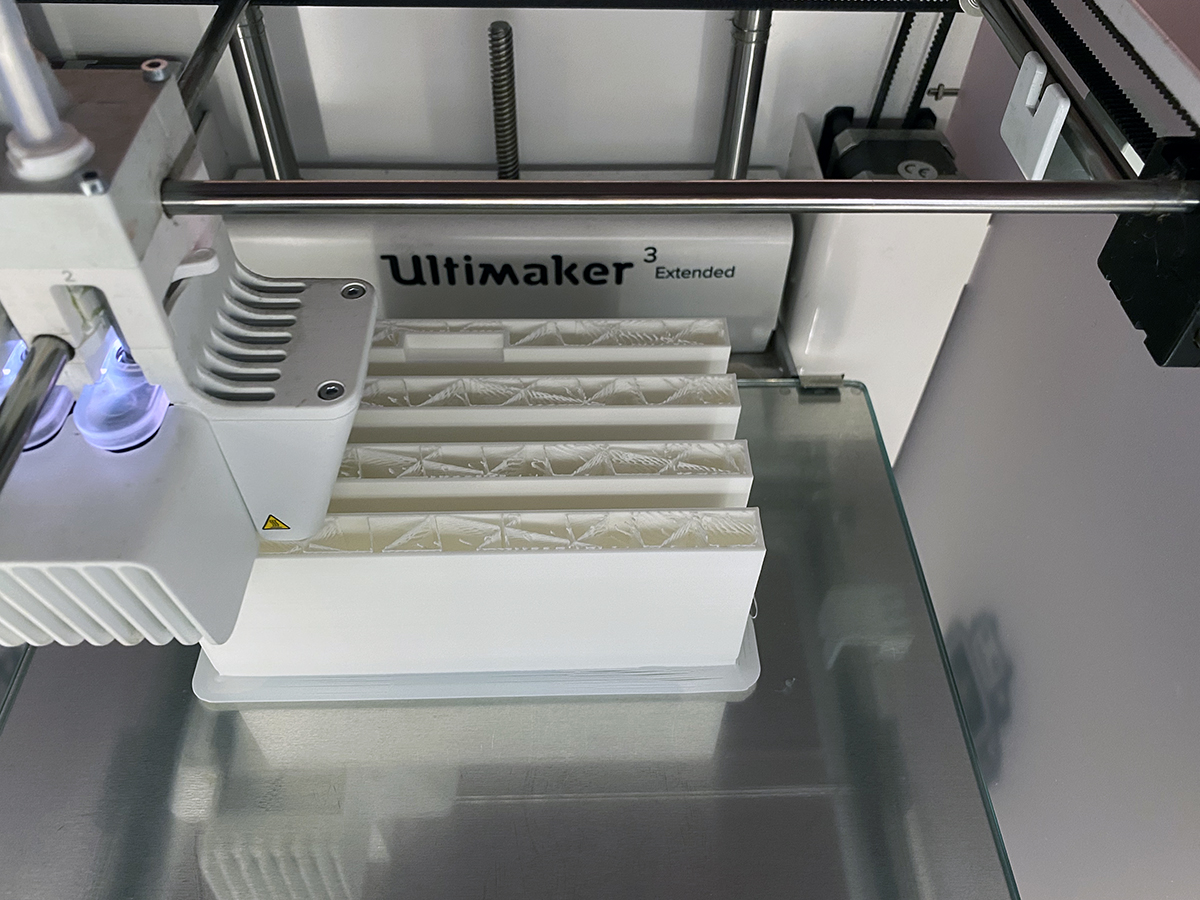
The other challenge we faced, which I mentioned earlier, was the limitations of the printing bed area. We had to keep everything to a 7″ x 7″ max footprint which meant the base we wanted to create to set the house would need to be made into 4 pieces and then joined together after that fact.
Easy enough, right?

Easy if you like waiting 35 hours to basically print out 4 sections of the base that are only 1/2″ thick … which I don’t.
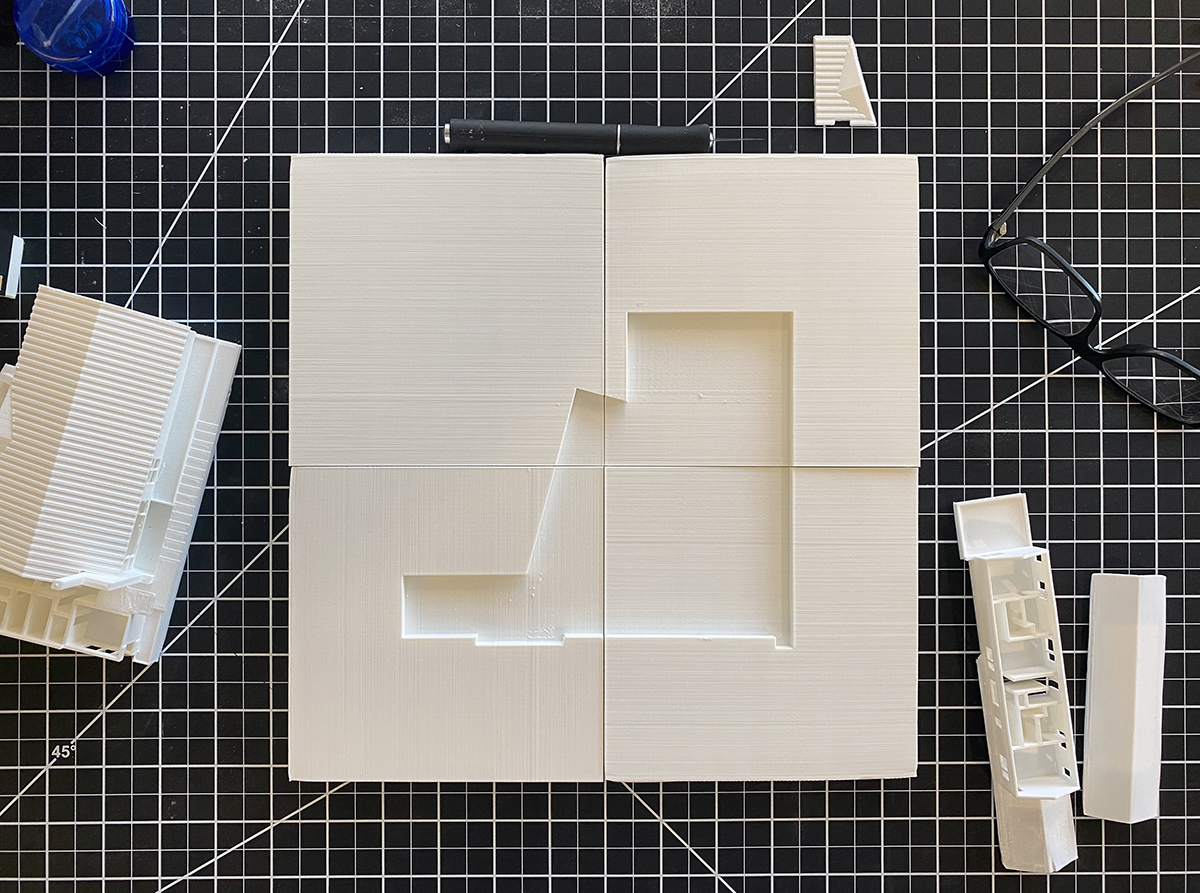
Here is what the base looked like after an amazingly long time printing. The thing that was a little disappointing was coming to terms with the amount of extra work that would be prepared if we really wanted these sections to look clean … which I typically want. You can see all the striations in base sections and someone would have to take some additional time and care to sand all of these pieces to make them smooth.
Who has time for that?
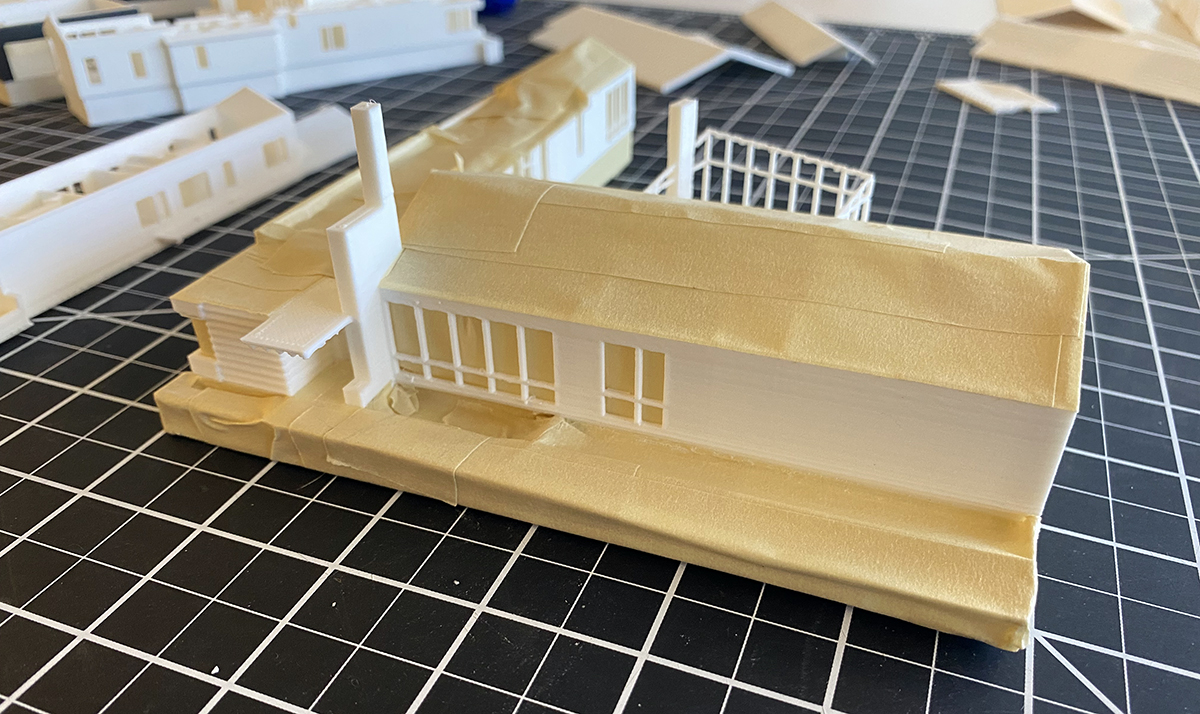
To combat some of the printing irregularities, and to highlight the exterior and the interiors, we decided to paint the exterior black while leaving the interiors white – a little trick I picked up from my friend Anthony Laney at Laney LA – the person who showed me the first 3D printed model that actually made me think “WOW – that looks amazing”.
The process of making the exterior black, while keeping the interior white was pretty simple … but took more time and some additional effort. We ended up just masking everything off using tape and an X-acto knife to keep everything nice and tidy.
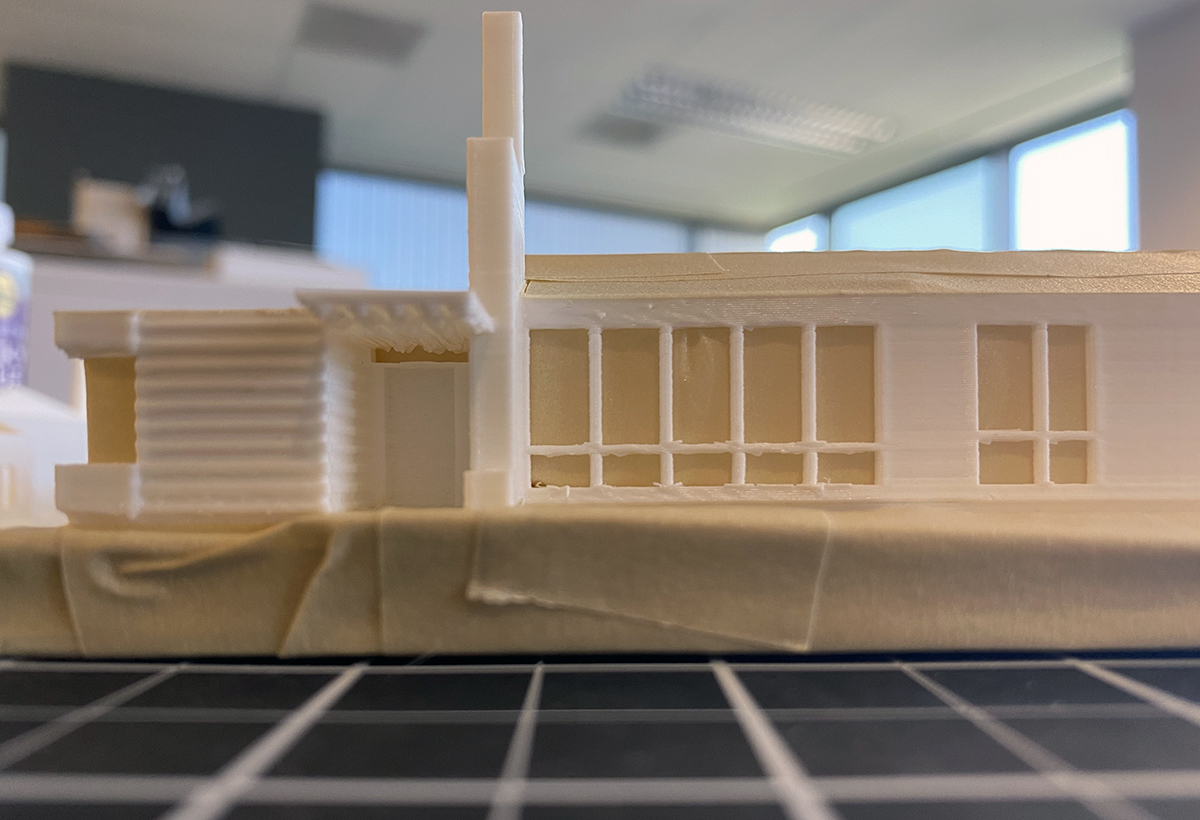
When you look pretty close, you can see all sorts of irregularities in the printing process, but you have to be looking for them. Keep in mind that this model is only 7″ square at its furthest dimension points.
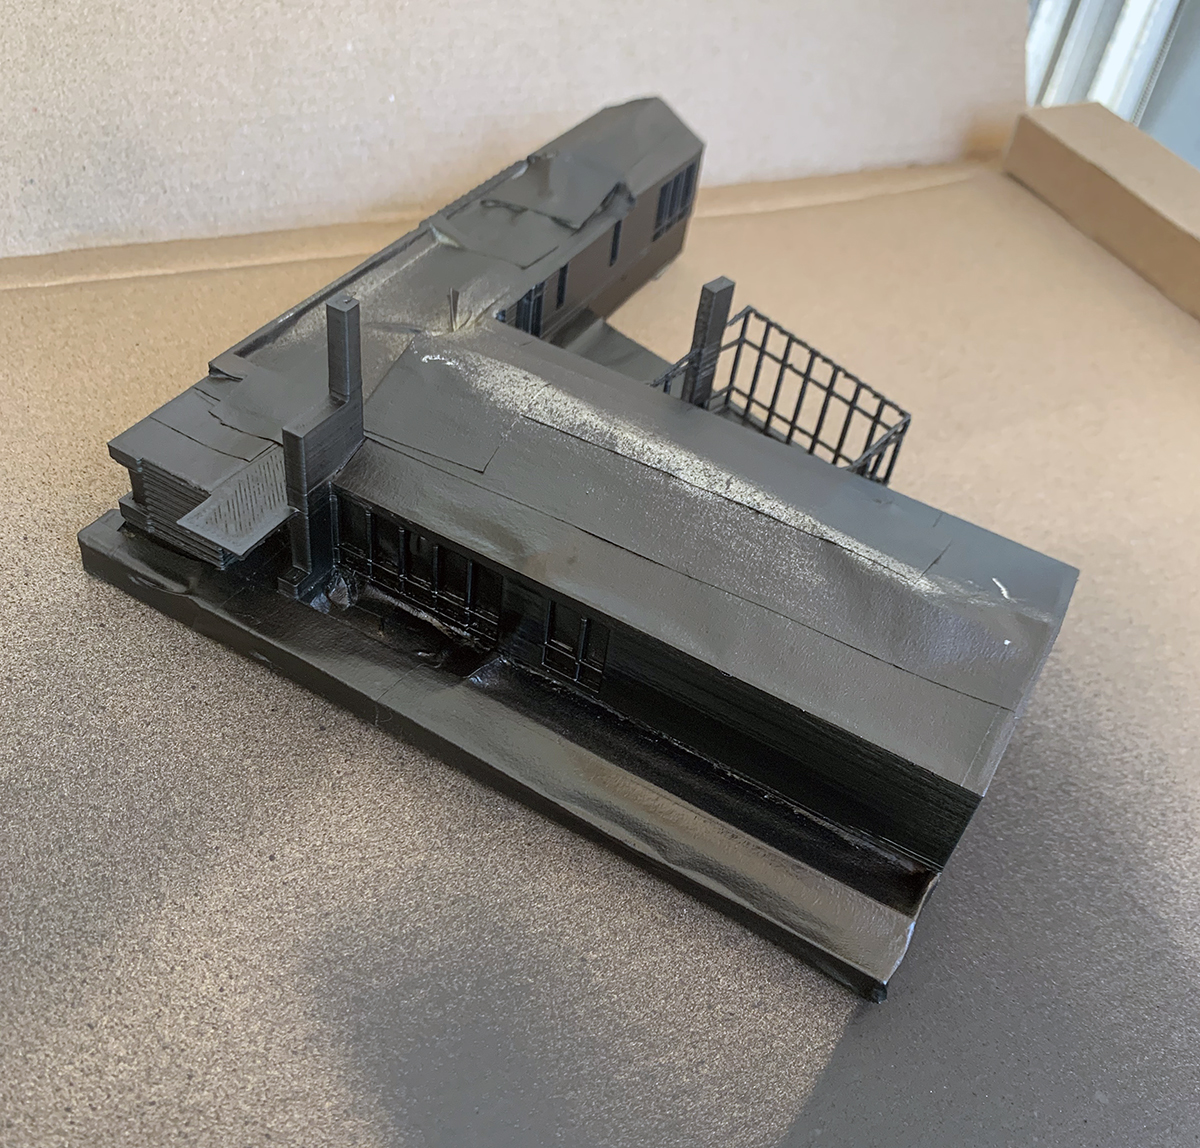
At this scale, and with a coating of black spray paint, most of the things that would drive you crazy tend to disappear.
Mostly.
This model is shockingly small and because I am writing this post while on holiday from Mexico, I can’t just pop back into the office to take a picture that would help convey its size relative to something else. Due to its size, you really can’t see all these issues that appear so glaringly in your face in my pictures.
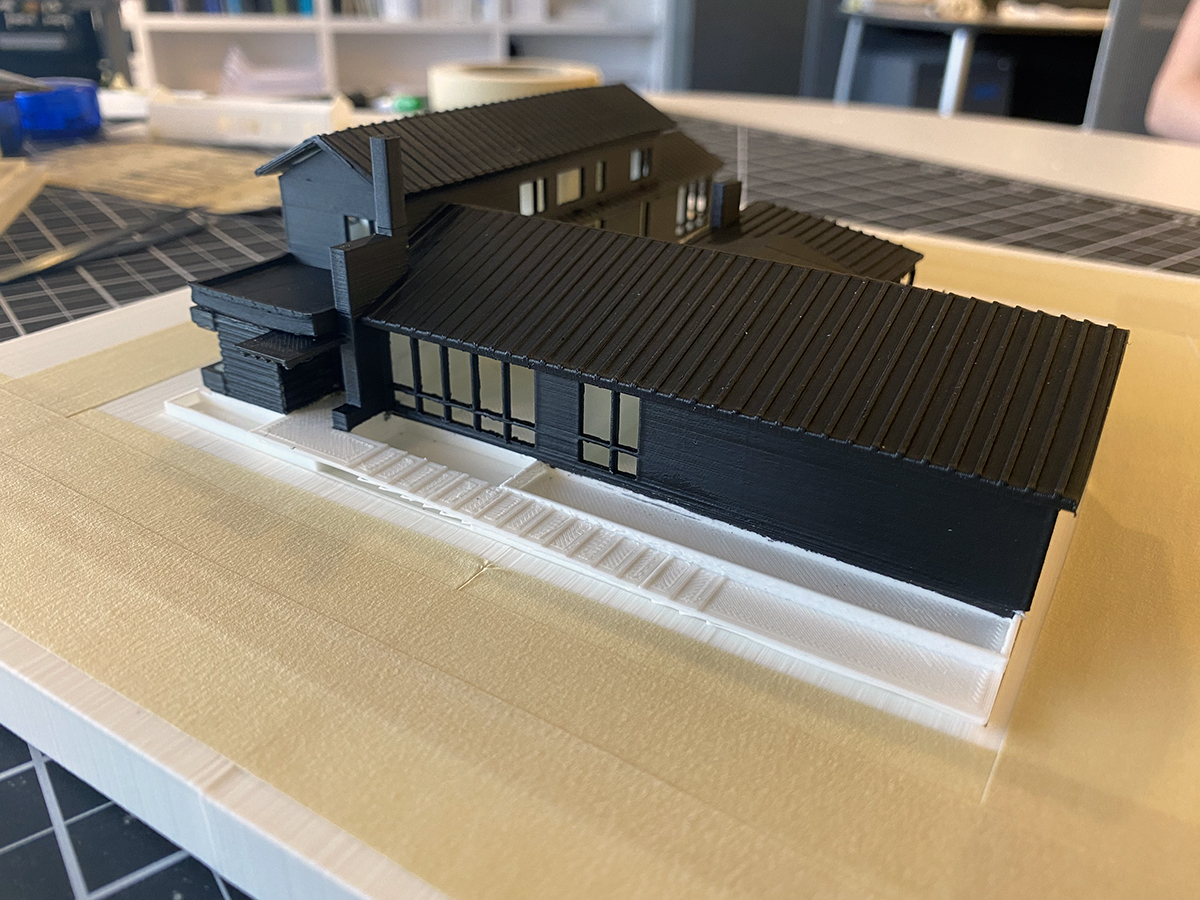
I am going to include a few gratuitous assembled shots here just to walk you through another problem we are working on options on how to solve. The heat of the printing filament caused some sections to flare in and out … meaning that of the 4 pieces of the site plan that we printed as out as the base, almost none of them had a true right angle on them. We had designed a few extra steps that would allow us to “snap” these pieces together on the underside but that extra move added a substantial amount of time to the printing process so we bailed on them.
As a result, we had to force the pieces together and tape them to one another with the house placed onto the model so that that would stay together long enough for us to flip the model over and then tape them together on the underside.
Boring … and a bit of a pain.
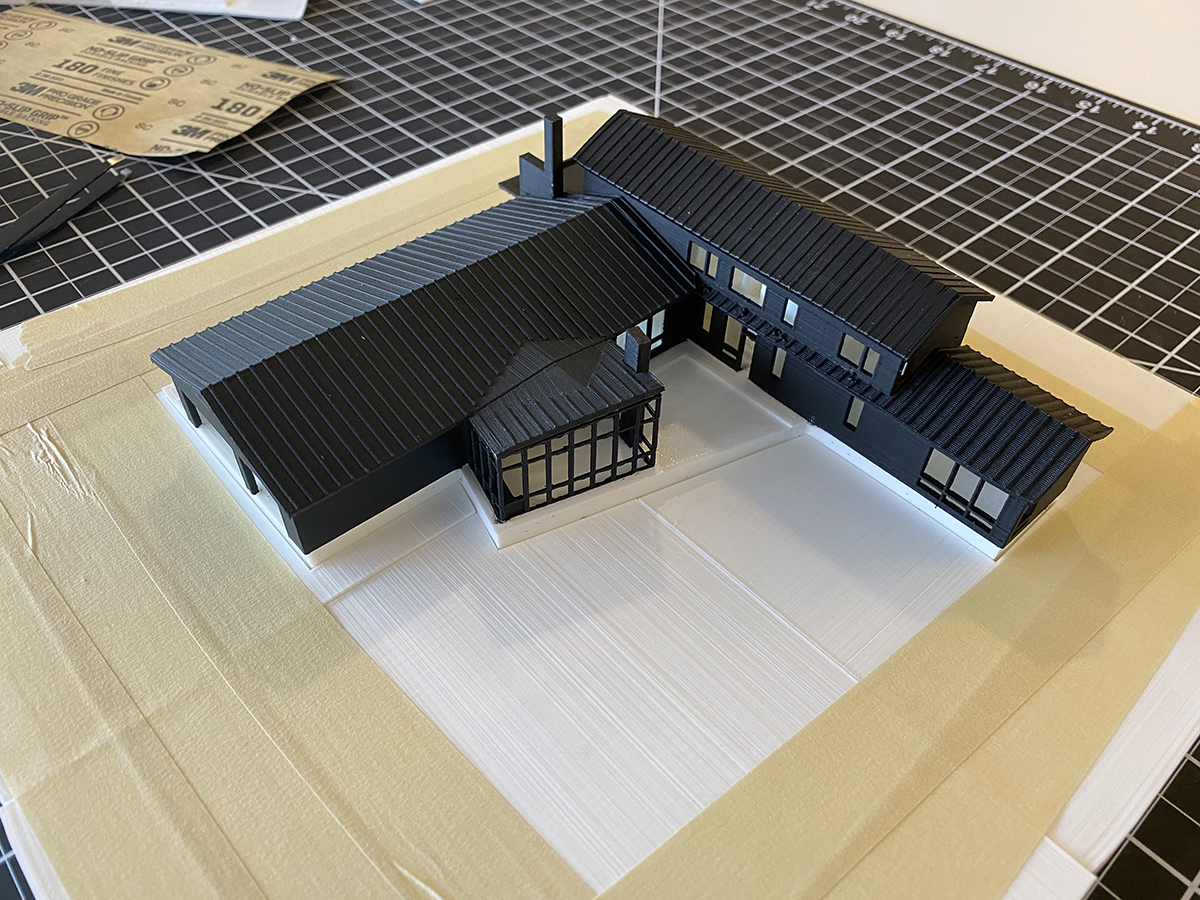
This is the rear courtyard of the house and you can see how each quadrant of the site just doesn’t want to play nicely with the others.
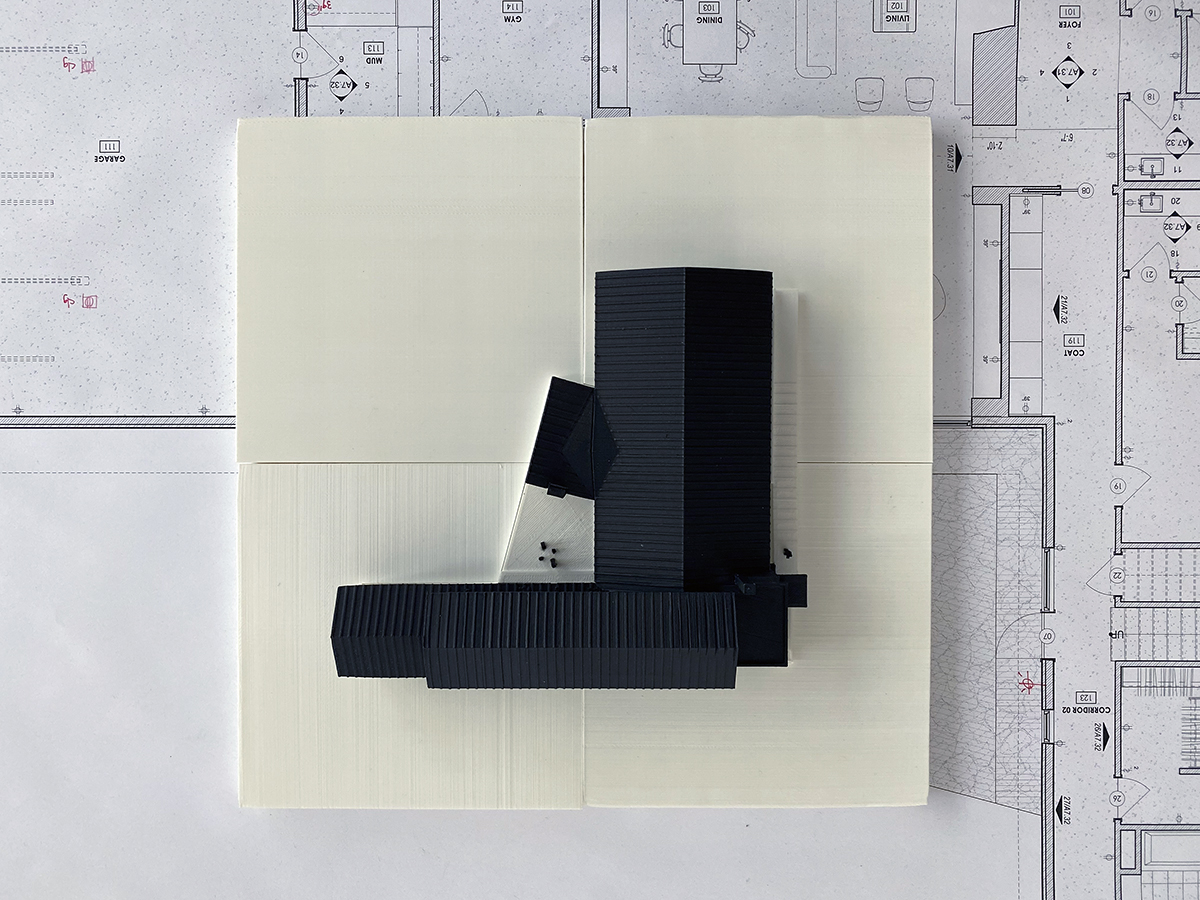
Here is the finished view of the quadrants assembled and the tape removed. Looking around the edges you can see how each of these square blocks isn’t really square any longer. This is one reason – and a really good argument – for getting a 3D printer that has a much larger print bed. The fewer pieces you need the better.
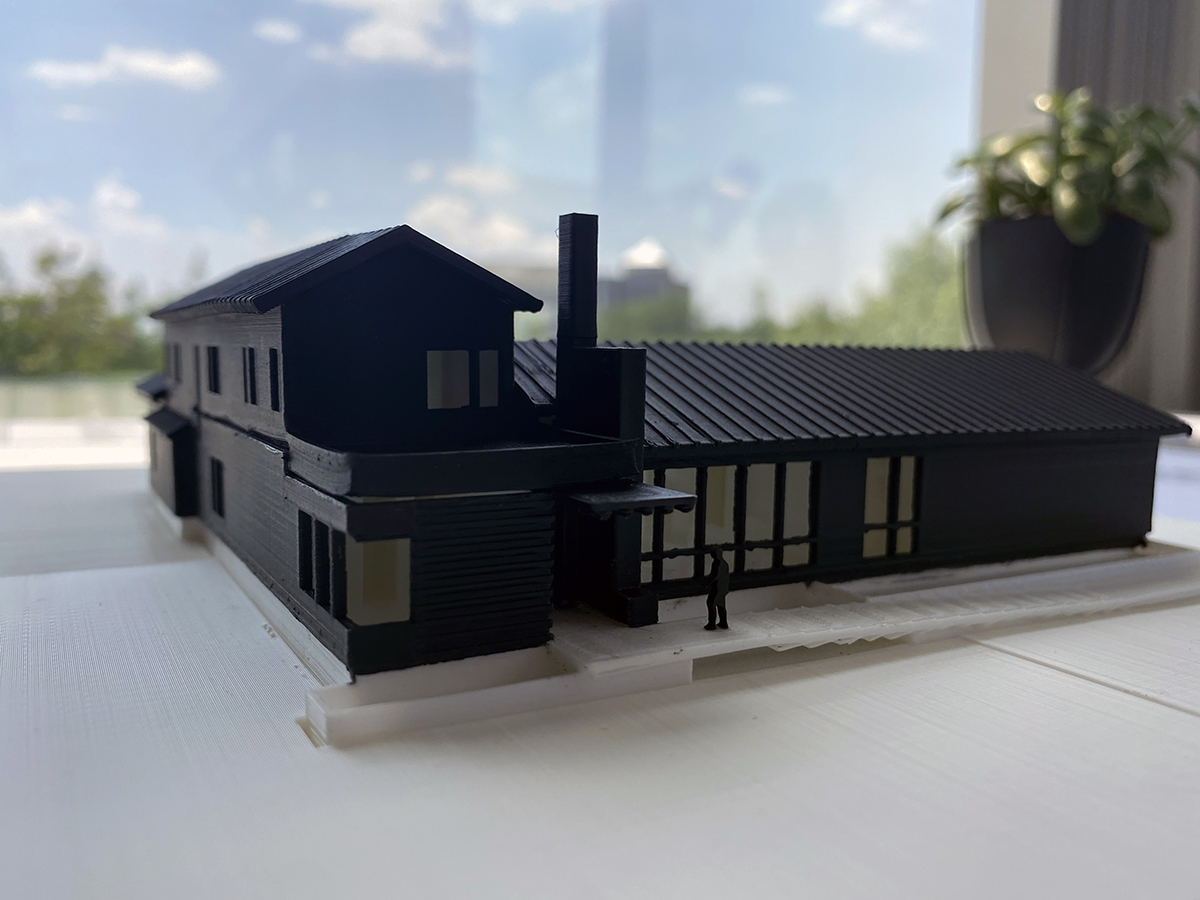
A look at the assembled from corner …
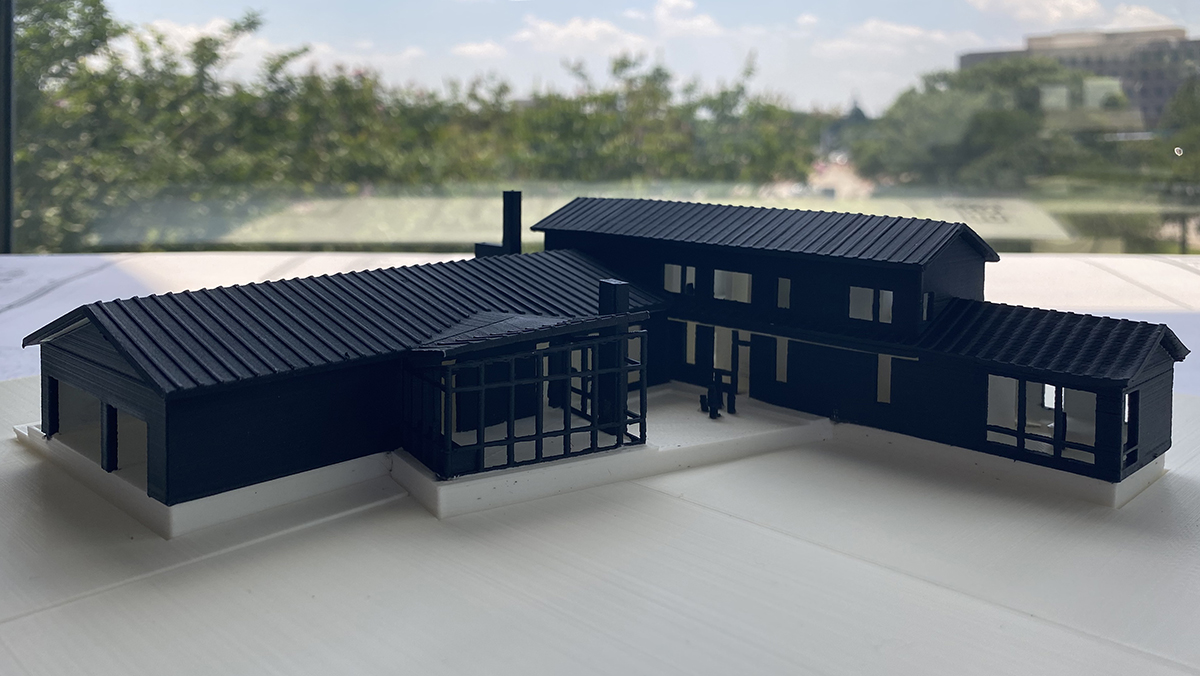
… and a look at the assembled back elevations.
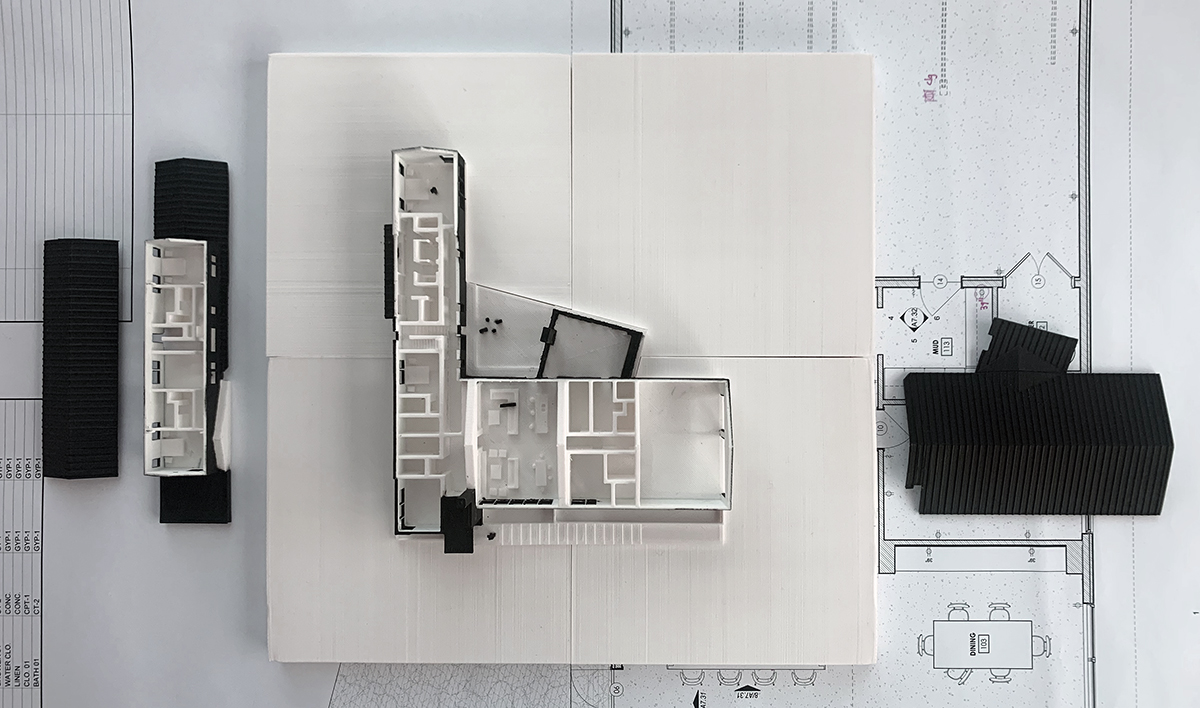
This process was extremely rewarding but we have a long ways to go before I would recommend to others that this is a viable design tool. In the two weeks we have spent on this, what I’ve learned is that it takes an extremely long time to create a finished-looking product, but there are significant ancillary benefits this process created within the firm.
There is no question that we will continue utilizing this tool – but I don’t think we will print out “finished models” unless they are actually finished and we are prepared to put some time in to clean up the surfaces prior to painting (or not) the surfaces. One of the interesting not-anticipated effects this process had was the amount of interest in the process that was generated. My office is constantly working on dozens of amazing projects at any one moment and we have to make an effort to show the entire staff what is happening on projects that they aren’t specifically working on – pretty easy to understand really. When we were printing out this model and had various parts strewn about our work area, dozens of people came but to check out what we doing and as a result, we basically explained the project to most of them along the way. I will also confess that I like the optics of printing out models – even hand-built models will work – because it helps support a design culture in the office. To that end, we prepared this model as a personal exploration into the process and not for the benefit of the client whose house we modeled. Sure, they will reap the benefits of us going through this process but this model was not a “deliverable” to them – it was purely a result of a process and effort of us trying to be better at our craft.
Cheers my friends –


